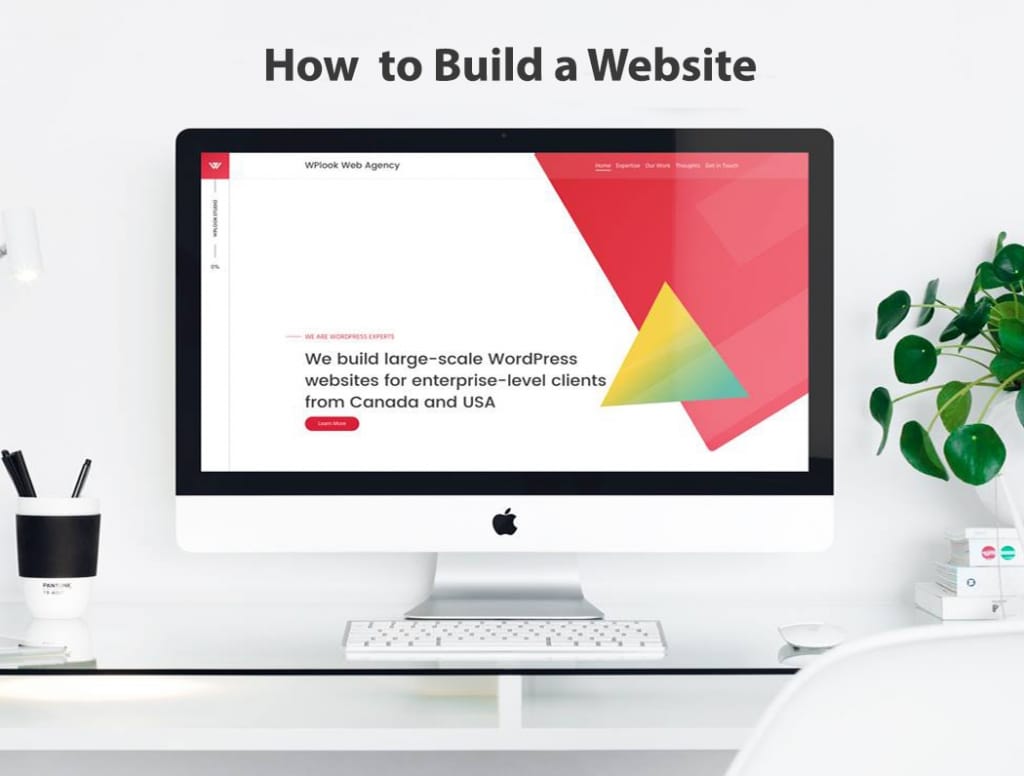
Want to make a website but do not know where to start? This guide covers everything you need. You will learn how to choose hosting, pick a domain name, install WordPress, and customize your site. No coding skills required.
In 2026, having a website is essential for any business, blog, or personal brand. A website helps you reach your audience and grow online. The good news? Making a website is easier than ever. You do not need to hire a developer or learn code. With the right tools, you can create a professional website in one afternoon.
Step 1: Choose a Website Platform
The first step is picking a platform to build your site. A platform is software that lets you create and manage your website. The most popular choice is WordPress. It powers over 40% of all websites on the internet.
WordPress stands out for several reasons. It is free and open source. It has thousands of themes and plugins. It works for any type of site – blogs, business sites, online stores, and portfolios. The learning curve is gentle, and help is always available.
Other platforms exist too. Drupal and Joomla are alternatives. But WordPress offers the best balance of power and ease of use. For a detailed comparison, read our guide on WordPress vs Drupal.
Note that there are two types of WordPress. WordPress.com is a hosted service with limits. WordPress.org is the software you install on your own hosting. We recommend WordPress.org for full control. Learn the difference in our WordPress.com vs WordPress.org comparison.
Step 2: Get a Domain Name
Your domain name is your website address. It is what people type in their browser to find you. For example, wplook.com is our domain name. Choosing the right domain matters for your brand and SEO.
Here are tips for picking a good domain name:
- Keep it short – Aim for 15 characters or less. Short names are easy to remember and type.
- Make it brandable – Choose something unique that represents your business.
- Use .com if possible – Most people assume websites end in .com. Other extensions work but .com is best.
- Avoid hyphens and numbers – These confuse people and are hard to share verbally.
- Check availability – Make sure your chosen name is not trademarked by another company.
For more guidance, read our full guide on 7 tips to find the perfect domain name. You can also explore different registrars in our best places to buy a domain name article.
You can register your domain with WPlook. Domains start at $19.95 per year and include free DNS management.
Step 3: Choose a Web Hosting Provider
Web hosting is where your website files live. A hosting provider stores your site on their servers and makes it available online. Without hosting, no one can visit your website.
When choosing hosting, consider these factors:
- Speed – Fast loading times keep visitors happy and help SEO.
- Uptime – Look for 99.9% uptime guarantees. Downtime means lost visitors.
- Support – Good customer support helps when problems arise.
- Security – SSL certificates and malware protection are essential.
- Price – Compare plans but do not just pick the cheapest option.
WPlook Hosting offers WordPress-optimized hosting with excellent support. Plans include free SSL, daily backups, and one-click WordPress installation. The 30-day money-back guarantee lets you try risk-free.
For more options, check our guide on how to choose the best WordPress hosting and our review of 7 best WordPress hosting providers.
Step 4: Install WordPress
Most hosting providers make WordPress installation easy. With WPlook Hosting, you can install WordPress with one click from your control panel.
Here is the basic process:
- Log in to your hosting control panel
- Find the WordPress installer (often called Softaculous or one-click install)
- Click “Install” and enter your site details
- Choose a username and password for your admin account
- Complete the installation
After installation, you can access your WordPress dashboard. Go to yourdomain.com/wp-admin and log in with your credentials. If you forget your login URL, read our guide on how to find your WordPress admin login.
Step 5: Choose a WordPress Theme
A theme controls how your website looks. It sets the layout, colors, fonts, and overall design. WordPress comes with a default theme, but you will want something better for a professional look.
When choosing a theme, look for:
- Responsive design – The theme should look good on phones and tablets
- Fast loading – Bloated themes slow down your site
- Regular updates – Developers should maintain the theme
- Good support – Help should be available if you need it
- Customization options – You should be able to change colors and layouts
WPlook Studio offers professional WordPress themes for different purposes. Popular choices include:
- Morning Time – Perfect for personal blogs and lifestyle sites
- Benevolence – Ideal for churches and nonprofits
- Studio 8 – Great for agencies and businesses
- Gym & Fitness – Built for fitness centers and trainers
To install a theme, go to Appearance > Themes in your WordPress dashboard. Click “Add New” and search for themes. For premium themes, upload the zip file you downloaded.
If you need a theme for events, check our guide on how to choose the best WordPress theme for conferences. For nonprofits, see how to install a nonprofit WordPress theme.
Step 6: Install Essential Plugins
Plugins add features to your WordPress site. They extend what WordPress can do without coding. There are over 60,000 free plugins available, plus thousands of premium options.
Here are essential plugins every website needs:
- Yoast SEO – Helps you optimize content for search engines
- WPForms – Creates contact forms for visitor inquiries
- UpdraftPlus – Backs up your website automatically
- Wordfence – Protects your site from hackers
- WP Super Cache – Speeds up your website
To install plugins, go to Plugins > Add New in your dashboard. Search for the plugin name and click “Install Now”. Then click “Activate” to enable it.
Do not install too many plugins. Each one adds code to your site. Too many plugins slow things down and create security risks. Stick to plugins you actually need.
Learn more about plugins in our guide to WordPress plugins.
Step 7: Create Essential Pages
Every website needs certain pages. These give visitors the information they expect. Create these pages before you launch:
- Home page – Your main landing page with your key message
- About page – Tell visitors who you are and your story
- Contact page – Let people reach you with a form and contact details
- Services/Products – Show what you offer
- Privacy Policy – Required for legal compliance in many regions
To create a page, go to Pages > Add New. Enter your page title and content using the block editor. Click “Publish” when ready.
Step 8: Set Up Analytics and Tracking
You need to track who visits your site and how they behave. Google Analytics is the standard tool for this. It shows you visitor counts, popular pages, traffic sources, and more.
There are two ways to add tracking to WordPress. You can use a plugin like MonsterInsights. Or you can add the code manually using Google Tag Manager.
For the manual approach, read our guide on how to add Google Tag Manager to WordPress without plugins. For plugin users, check how to set up Google Analytics in WordPress.
Step 9: Customize Your Site Settings
Before launching, configure your WordPress settings. These affect how your site works and appears.
Key settings to check:
- Site title and tagline – Set these in Settings > General
- Permalinks – Use “Post name” structure for clean URLs (Settings > Permalinks)
- Reading settings – Choose what shows on your home page
- Discussion settings – Configure comments if you want them
- Media settings – Set image sizes for your site
Also add your Gravatar. This is your profile picture that appears across WordPress. Learn how in our guide on how to add a WordPress avatar.
Step 10: Launch Your Website
Before going live, check everything works. Test all links. View your site on different devices. Ask a friend to review it. Fix any issues you find.
When ready, share your new site with the world. Post on social media. Add your URL to your email signature. Tell your contacts. Your website is now live!
Common Mistakes to Avoid
New website owners often make these mistakes. Learn from them:
- Choosing cheap hosting – Slow hosts hurt your SEO and user experience
- Installing too many plugins – Keep your site lean and fast
- Ignoring mobile users – Most traffic comes from phones now
- Skipping backups – Always have a backup plan
- Not setting up SSL – HTTPS is essential for security and trust
Next Steps After Launch
Your website is just the beginning. Now you need to grow it. Here are next steps:
- Create content regularly – Blog posts help with SEO and engagement
- Learn SEO basics – Get your site found in Google
- Build an email list – Stay connected with your visitors
- Monitor analytics – See what works and improve
- Keep WordPress updated – Updates fix bugs and security issues
For more tips on growing your site, read our guide on how to start a blog.
Frequently Asked Questions
- How much does it cost to make a website?A basic WordPress website costs $50-100 per year. This covers domain registration ($10-20) and hosting ($40-80). Premium themes and plugins add more but are optional. Compare this to hiring a developer, which costs thousands.
- Do I need to know how to code?No. WordPress lets you build websites without coding. You use themes for design and plugins for features. The block editor makes adding content easy. If you ever need custom work, you can hire help later.
- Can I make money with my website?Yes. Websites can earn money through advertising, affiliate marketing, selling products, or offering services. E-commerce plugins like WooCommerce let you sell online. Read our Shopify vs WooCommerce comparison to choose your store platform.
- How long does it take to make a website?A simple website can go live in a few hours. Add more time for content creation and customization. Most people have a basic site running within a weekend. Complex sites with custom features take longer.
- What if I get stuck?WordPress has a huge community. Forums, tutorials, and videos cover almost every question. Your hosting provider also offers support. For hands-on help, order a customization service from WPlook.
- Can I upload large files to my website?WordPress has upload limits that vary by host. If you need to upload large files, read our guide on how to increase the WordPress maximum upload file size.
Conclusion
You now know how to make a website from scratch. The process is simple: choose WordPress, get a domain and hosting, install WordPress, pick a theme, add plugins, and create content. Anyone can do this, regardless of technical skill.
The key is starting. Your first website will not be perfect. That is fine. You can improve it over time. The important thing is getting online and connecting with your audience.
Ready to begin? Get hosting from WPlook and start building your website today.
Get Hosting Get Domain Agency, Benevolence, Blog, Charity, NonProfit, Personal Blog, WordPress Themes

Need Fast, Reliable WordPress Hosting?
Managed hosting with free SSL, daily backups and theme setup included.