
Want to track visitors on your WordPress site? This guide shows you how to set up Google Analytics step by step. Learn to create an account, install tracking, and understand your data.
Google Analytics is a free tool that tracks website traffic. It shows where visitors come from, which pages they view, and how they behave. Every serious website needs analytics. The data helps you make better decisions about content and marketing.
You may also be interested in how to add Google Tag Manager to WordPress without plugins for more advanced tracking.
Why Use Google Analytics?
Google Analytics provides vital information about your website. Understanding your audience helps you grow. Here is what you can learn:
- Traffic sources – See if visitors come from Google, social media, email, or direct visits
- Geographic location – Know where your audience lives
- Device information – Desktop, mobile, or tablet usage
- Browser data – Chrome, Safari, Firefox, and others
- Popular pages – Which content gets the most views
- Time on site – How long visitors stay
- Bounce rate – Percentage leaving after one page
- Conversions – Goals completed like signups or purchases
This data helps you improve content, fix problems, and grow traffic. Without analytics, you are guessing about what works.
Step 1: Create a Google Analytics Account
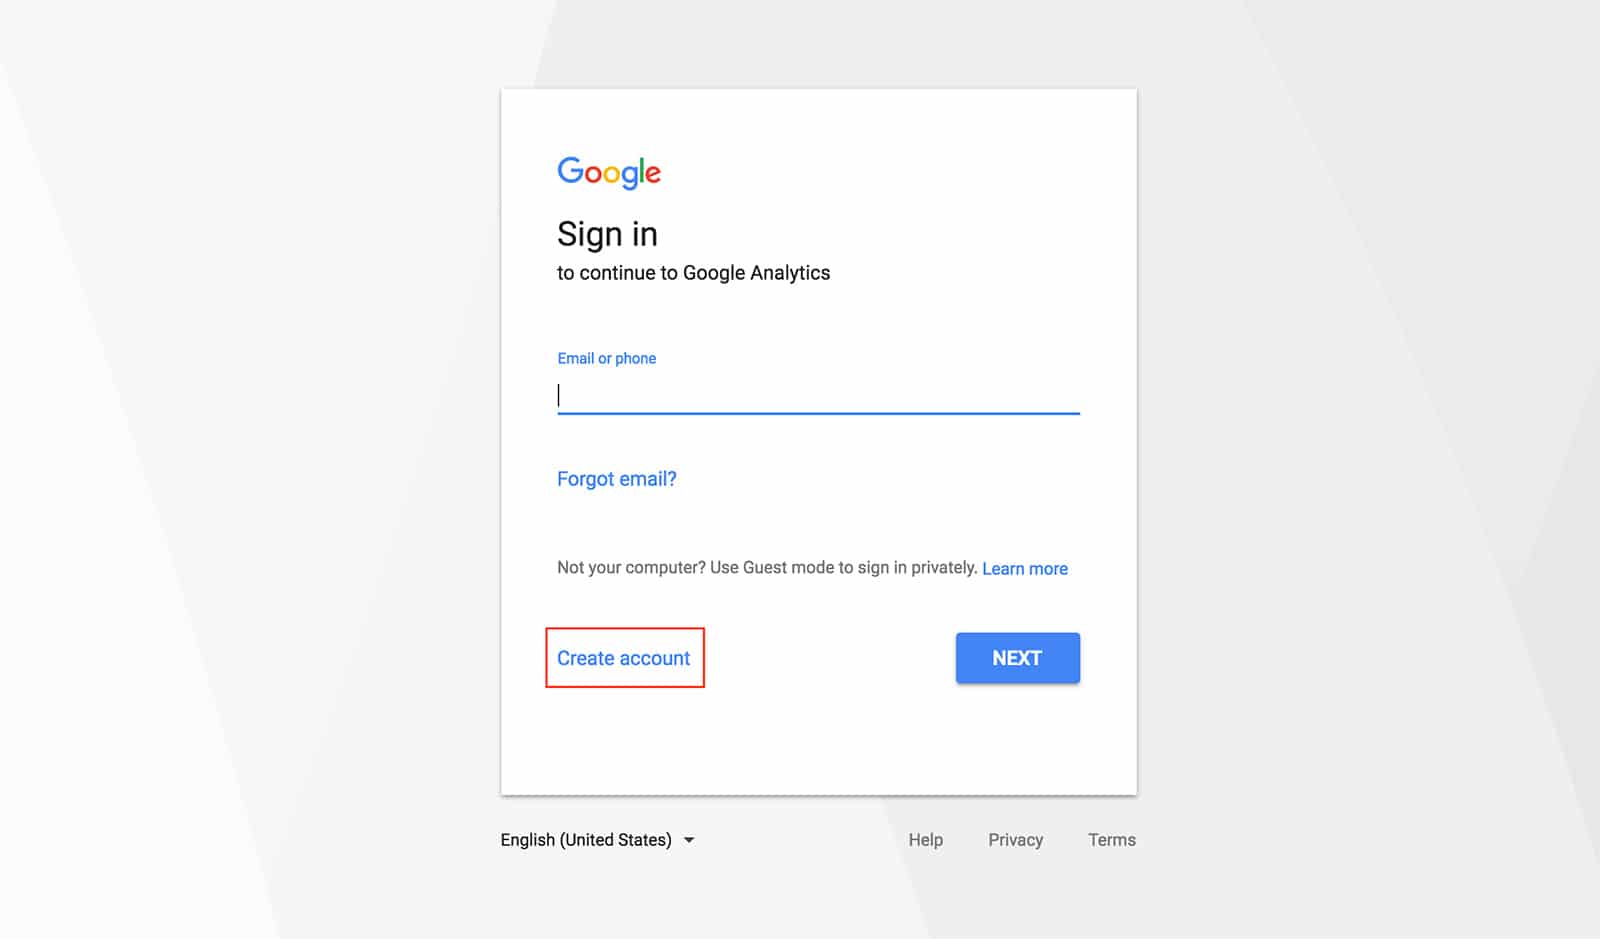
Go to analytics.google.com and sign in with your Google account. If you do not have a Google account, create one first.
Click “Start measuring” to begin setup. You will create an account and property for your website.
Enter your account name. This can be your business name or personal name. Choose data sharing options based on your preference. Most users keep defaults.
Step 2: Create a Property for Your Website
A property represents your website in Google Analytics. One account can have multiple properties for different sites.
Enter your property name. This is typically your website name. Select your reporting time zone and currency. These affect how data is displayed in reports.
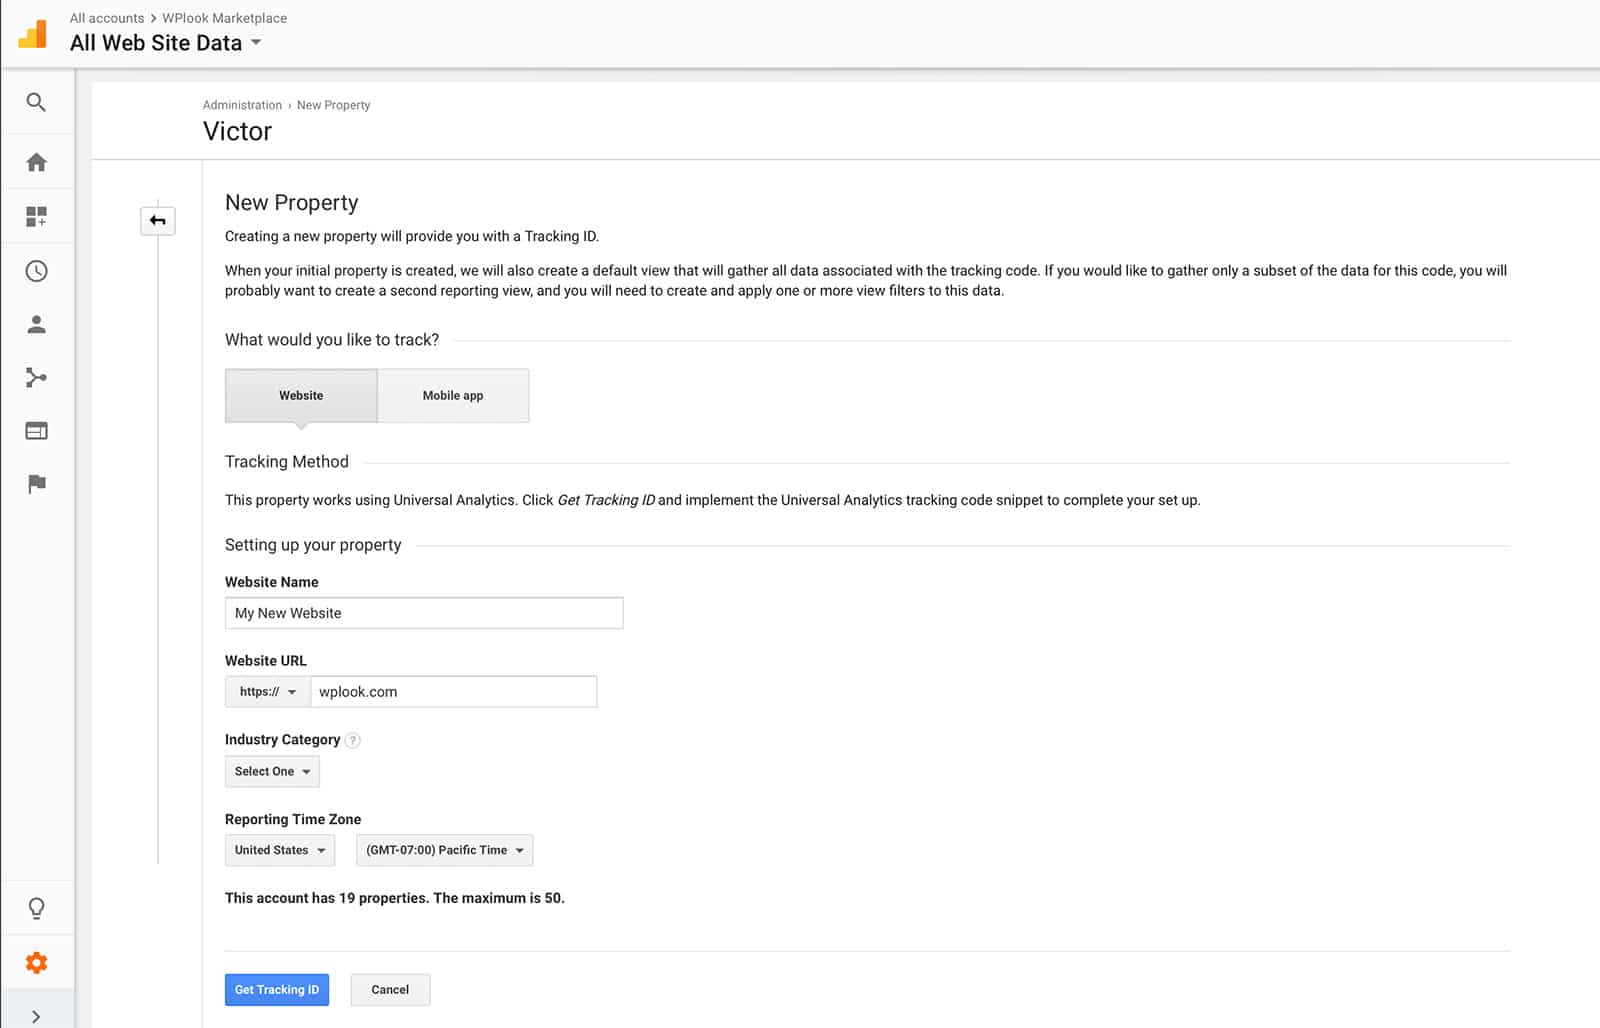
Google Analytics 4 (GA4) is the current version. It replaced Universal Analytics in 2023. New properties automatically use GA4.
Answer questions about your business. Select industry category and business size. Choose your goals: generate leads, drive sales, raise brand awareness, or examine user behavior.
Accept the terms of service to complete setup.
Step 3: Get Your Measurement ID
After creating your property, you need to set up a data stream. This connects your website to Google Analytics.
Select “Web” as your platform. Enter your website URL and give the stream a name. Click “Create stream.”
You will see your Measurement ID. It looks like G-XXXXXXXXXX. Copy this ID. You will need it to install tracking on your WordPress site.
Keep this page open or save your Measurement ID somewhere safe.
Step 4: Install Google Analytics on WordPress
There are several ways to add Google Analytics to WordPress. Choose the method that fits your skill level.
Option A: Use a Plugin (Easiest)
Plugins are the simplest method. They add tracking code without editing files. Popular options include:
- Google Site Kit – Official Google plugin with dashboard in WordPress
- MonsterInsights – Popular plugin with detailed reports
- GA Google Analytics – Lightweight option for just tracking
- Analytics Tracker – Simple plugin using the latest code
Go to Plugins > Add New. Search for your chosen plugin. Install and activate it. Enter your Measurement ID in the plugin settings.
Option B: Use Google Tag Manager
Google Tag Manager (GTM) is a container for tracking scripts. It offers more flexibility and control. Add GTM once, then manage all tags through its interface.
For detailed instructions, read our guide on how to add Google Tag Manager to WordPress without plugins.
Option C: Add Code to Theme (Manual)
You can add tracking code directly to your theme. This method needs basic code editing skills. Use a child theme so updates do not erase your changes.
In Google Analytics, go to your data stream settings. Click “View tag instructions.” Copy the provided code snippet.
In WordPress, go to Appearance > Theme Editor. Open your header.php file or functions.php. Add the code before the closing head tag or use a hook.
Step 5: Test Your Installation
After adding tracking, verify it works. Open your website in a new browser tab. Then check Google Analytics.
Go to Reports > Real-time in Google Analytics. You should see at least one active user – that is you! Browse a few pages and watch the real-time data update.
If no data appears, wait a few minutes. Check that your Measurement ID is correct. Clear your cache and try again. Disable any ad blockers that might interfere.
Understanding Key Reports
Google Analytics 4 organizes data into several report categories. Here are the most useful ones:
Acquisition reports show where traffic comes from. See breakdowns by channel: organic search, direct, social, referral, and paid. Learn which sources drive the most visitors.
Engagement reports show what visitors do on your site. See which pages they view, how long they stay, and where they exit. High engagement means good content.
Demographics reports reveal audience characteristics. Learn about age ranges, gender, and interests of your visitors. This helps with content targeting.
Technology reports show devices and browsers. See mobile vs desktop split. Identify if your site works well on all platforms.
Setting Up Goals and Conversions
Goals track important actions on your site. Examples include:
- Newsletter signups
- Contact form submissions
- Product purchases
- Account registrations
- File downloads
In GA4, these are called “conversions.” Go to Configure > Events to set them up. Mark important events as conversions. Analytics will then track when users complete these actions.
Tips for Using Analytics Effectively
Check data regularly: Review your analytics weekly or monthly. Look for trends and changes. Catch problems early.
Set up email reports: GA4 can send automated reports. Get data in your inbox without logging in.
Compare time periods: Compare this month to last month. Compare this year to last year. Trends matter more than single data points.
Focus on actionable metrics: Do not get lost in data. Focus on metrics that help you make decisions. Traffic sources, popular pages, and conversions matter most.
Filter out spam: Some traffic is fake. Create filters to exclude known spam referrers and internal traffic from your team.
Frequently Asked Questions
- Is Google Analytics free?Yes. Google Analytics is completely free for most users. A paid version called Analytics 360 exists for enterprises with massive data needs. Standard accounts have no cost.
- How long until I see data?Real-time data appears within seconds. Standard reports may take 24-48 hours to populate. New accounts need time to collect data before showing meaningful trends.
- Does Google Analytics slow down my site?The impact is minimal. The tracking script is lightweight and loads asynchronously. It does not block your page from rendering. Most visitors never notice any difference.
- Do I need to notify visitors about tracking?Privacy laws like GDPR require disclosure. Add a cookie notice explaining you use analytics. Many plugins help with GDPR compliance. Check requirements for your region.
- Can I track multiple sites with one account?Yes. One Google Analytics account can have multiple properties. Each property has its own Measurement ID. Create separate properties for each website you track.
Conclusion
Setting up Google Analytics on WordPress is straightforward. Create an account, get your Measurement ID, and install tracking with a plugin or code. Then test to confirm data flows.
Analytics gives you insight into your audience. Use the data to create better content and grow your traffic. Check your reports regularly to stay informed.
For more WordPress tutorials, read our guide on how to make a website or learn about how to start a blog.
Get Hosting Google Analytics, WordPress Plugins

Elevate Your Online Presence with Our Free WordPress Themes
Craft Your Debut Blog or Nonprofit Website with Our Complimentary Themes!
Discover Free Themes