You can add new staff members through Staff → Add New Staff Member in the WordPress Administration Panel.
Staff members contain most of the same options as standard posts. You can read about these in the Add New Post chapter. Additionally, they contain post options specific to staff members.
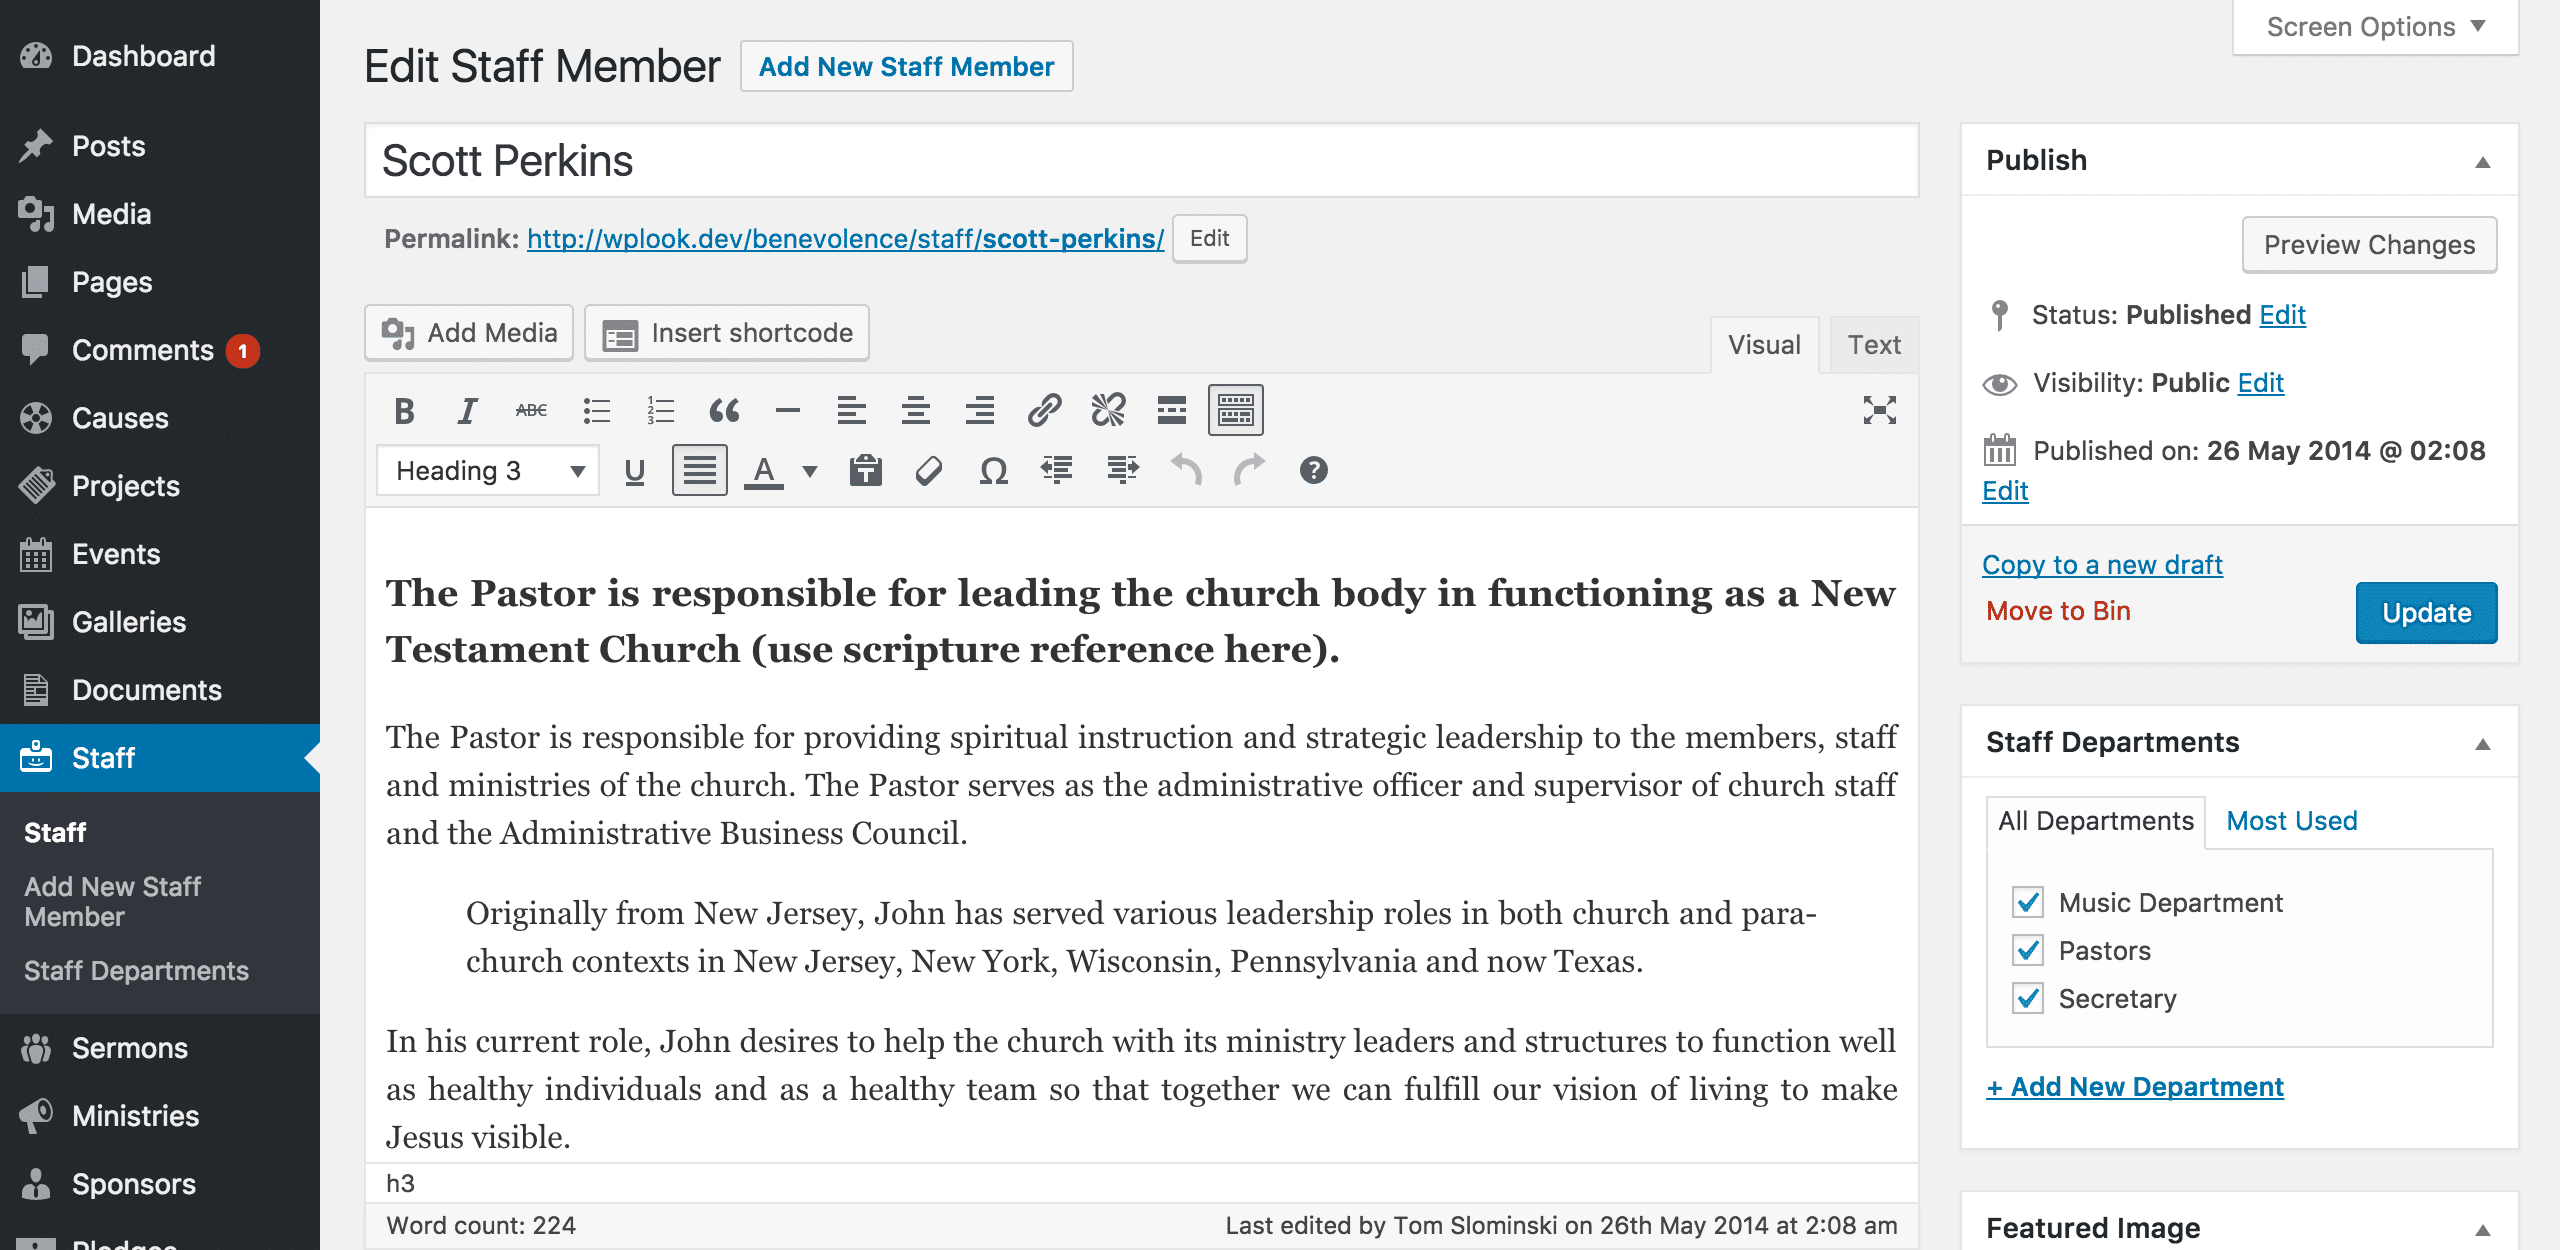
Staff Options
Staff Options are found below the editor on the Edit Staff Member page. If the Staff Options are not visible, make sure they are checked inside the Screen Options area at the top.
If you are adding a new staff member, make sure you have saved the post before editing staff options. Otherwise, the staff options will not be visible.
Header image
The header image is displayed behind the title at the top of the single project page in the front-end. Select a wide but short image, around 1680px x 275px. Click the + button to upload an image.
If you don’t add a header image, the default background color will be displayed.
Position
The position of the staff member within your company. This, and the remaining fields in staff options, will all be displayed on the single staff member page.
Phone
The phone number of this staff member.
The email address of this staff member.
Blog URL
The URL of the staff member’s website.
Social network links
A list of social icons which will be displayed using icons alongside other information about this staff member. Click the Add New button in order to add a social network.
Each social network has the following fields:
- Set the Title to anything you want, it will not be displayed on the site.
- The Service Name will be displayed once the user hovers over the social network icon.
- The URL is where the social network icon will link to.
- The Icon can be picked from the list of icons next to the input field.