Menus are simply a collection of links, usually with a hierarchy, which you can display on your site. The areas where you can display menus include Theme Locations and widgets, and these will be displayed in full at the end of the article.
Creating New Menus
To create a new menu, go to Appearance → Menus. If you haven’t created any menus on your site, you’ll automatically start creating one. If you already have menus, select create a new menu from the box in the middle of the page.
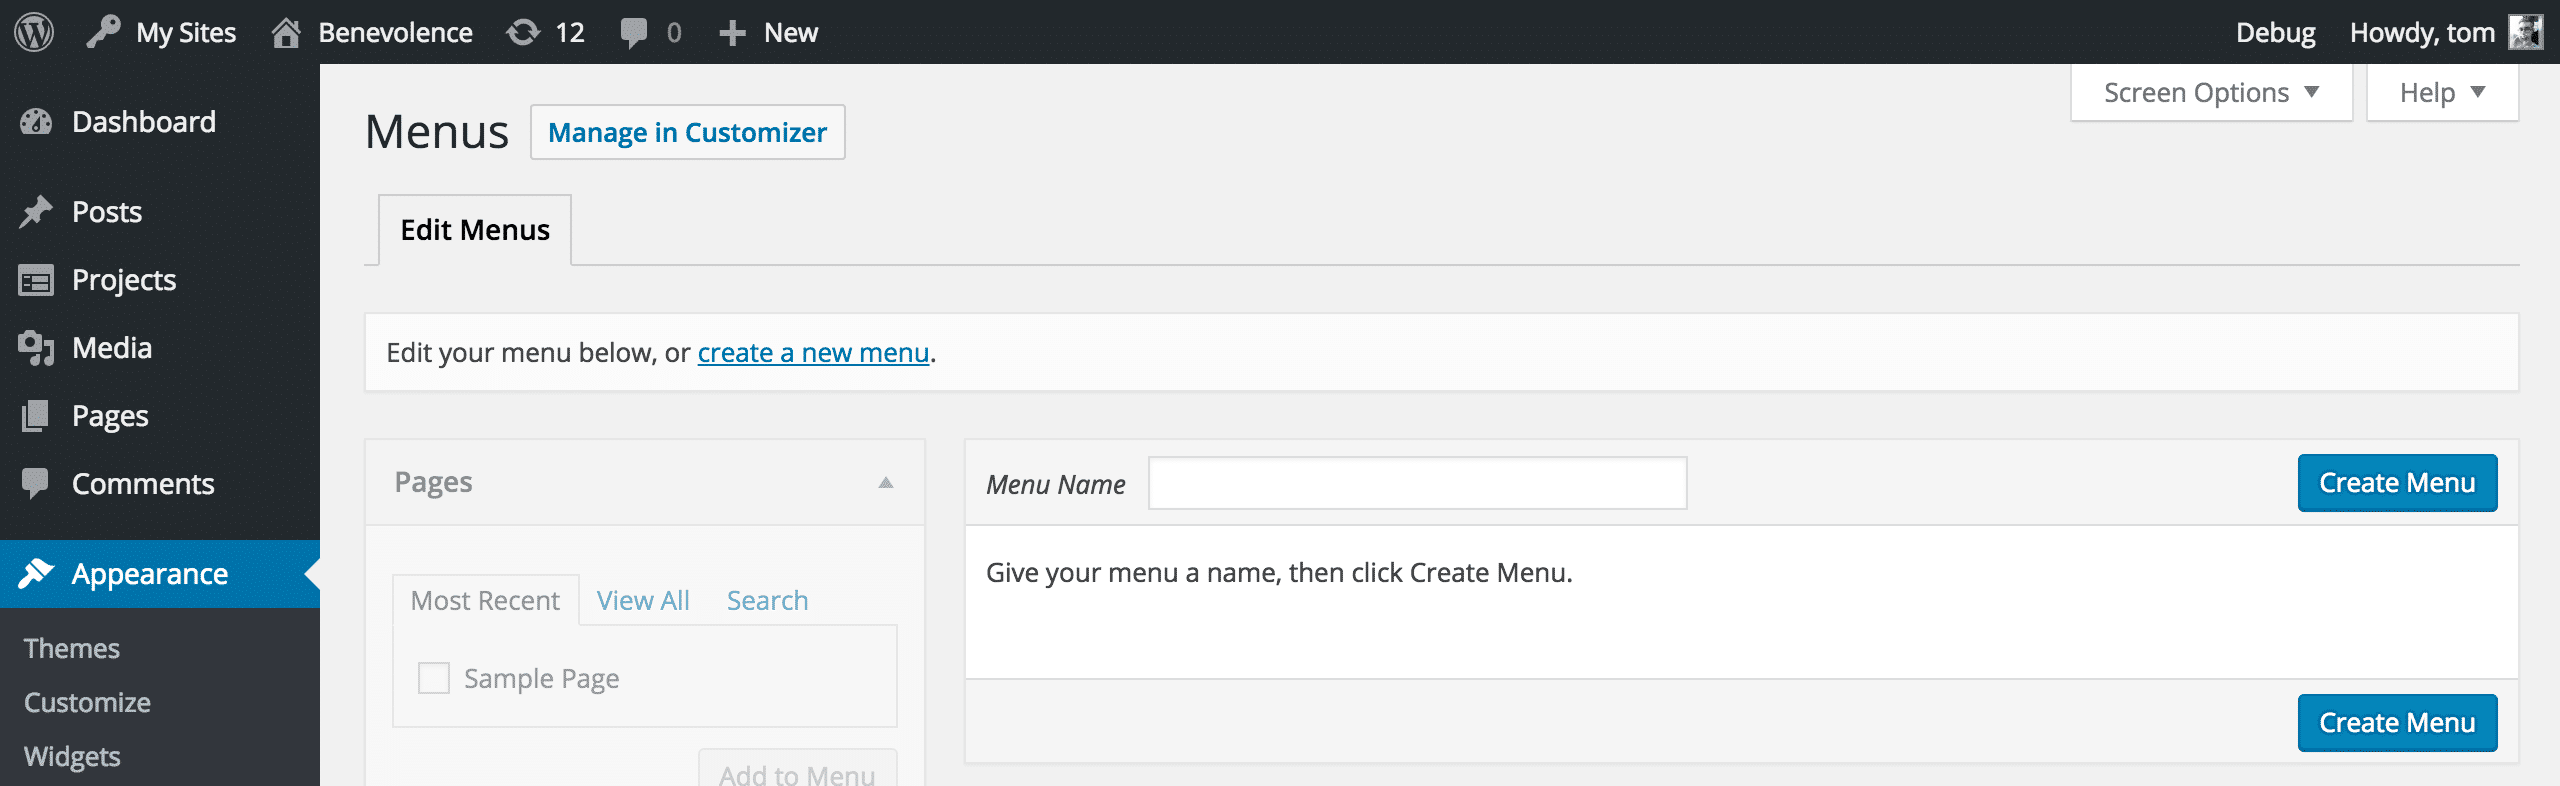
Give your menu a name, next to Menu Name, and click Create Menu.
Editing Menus
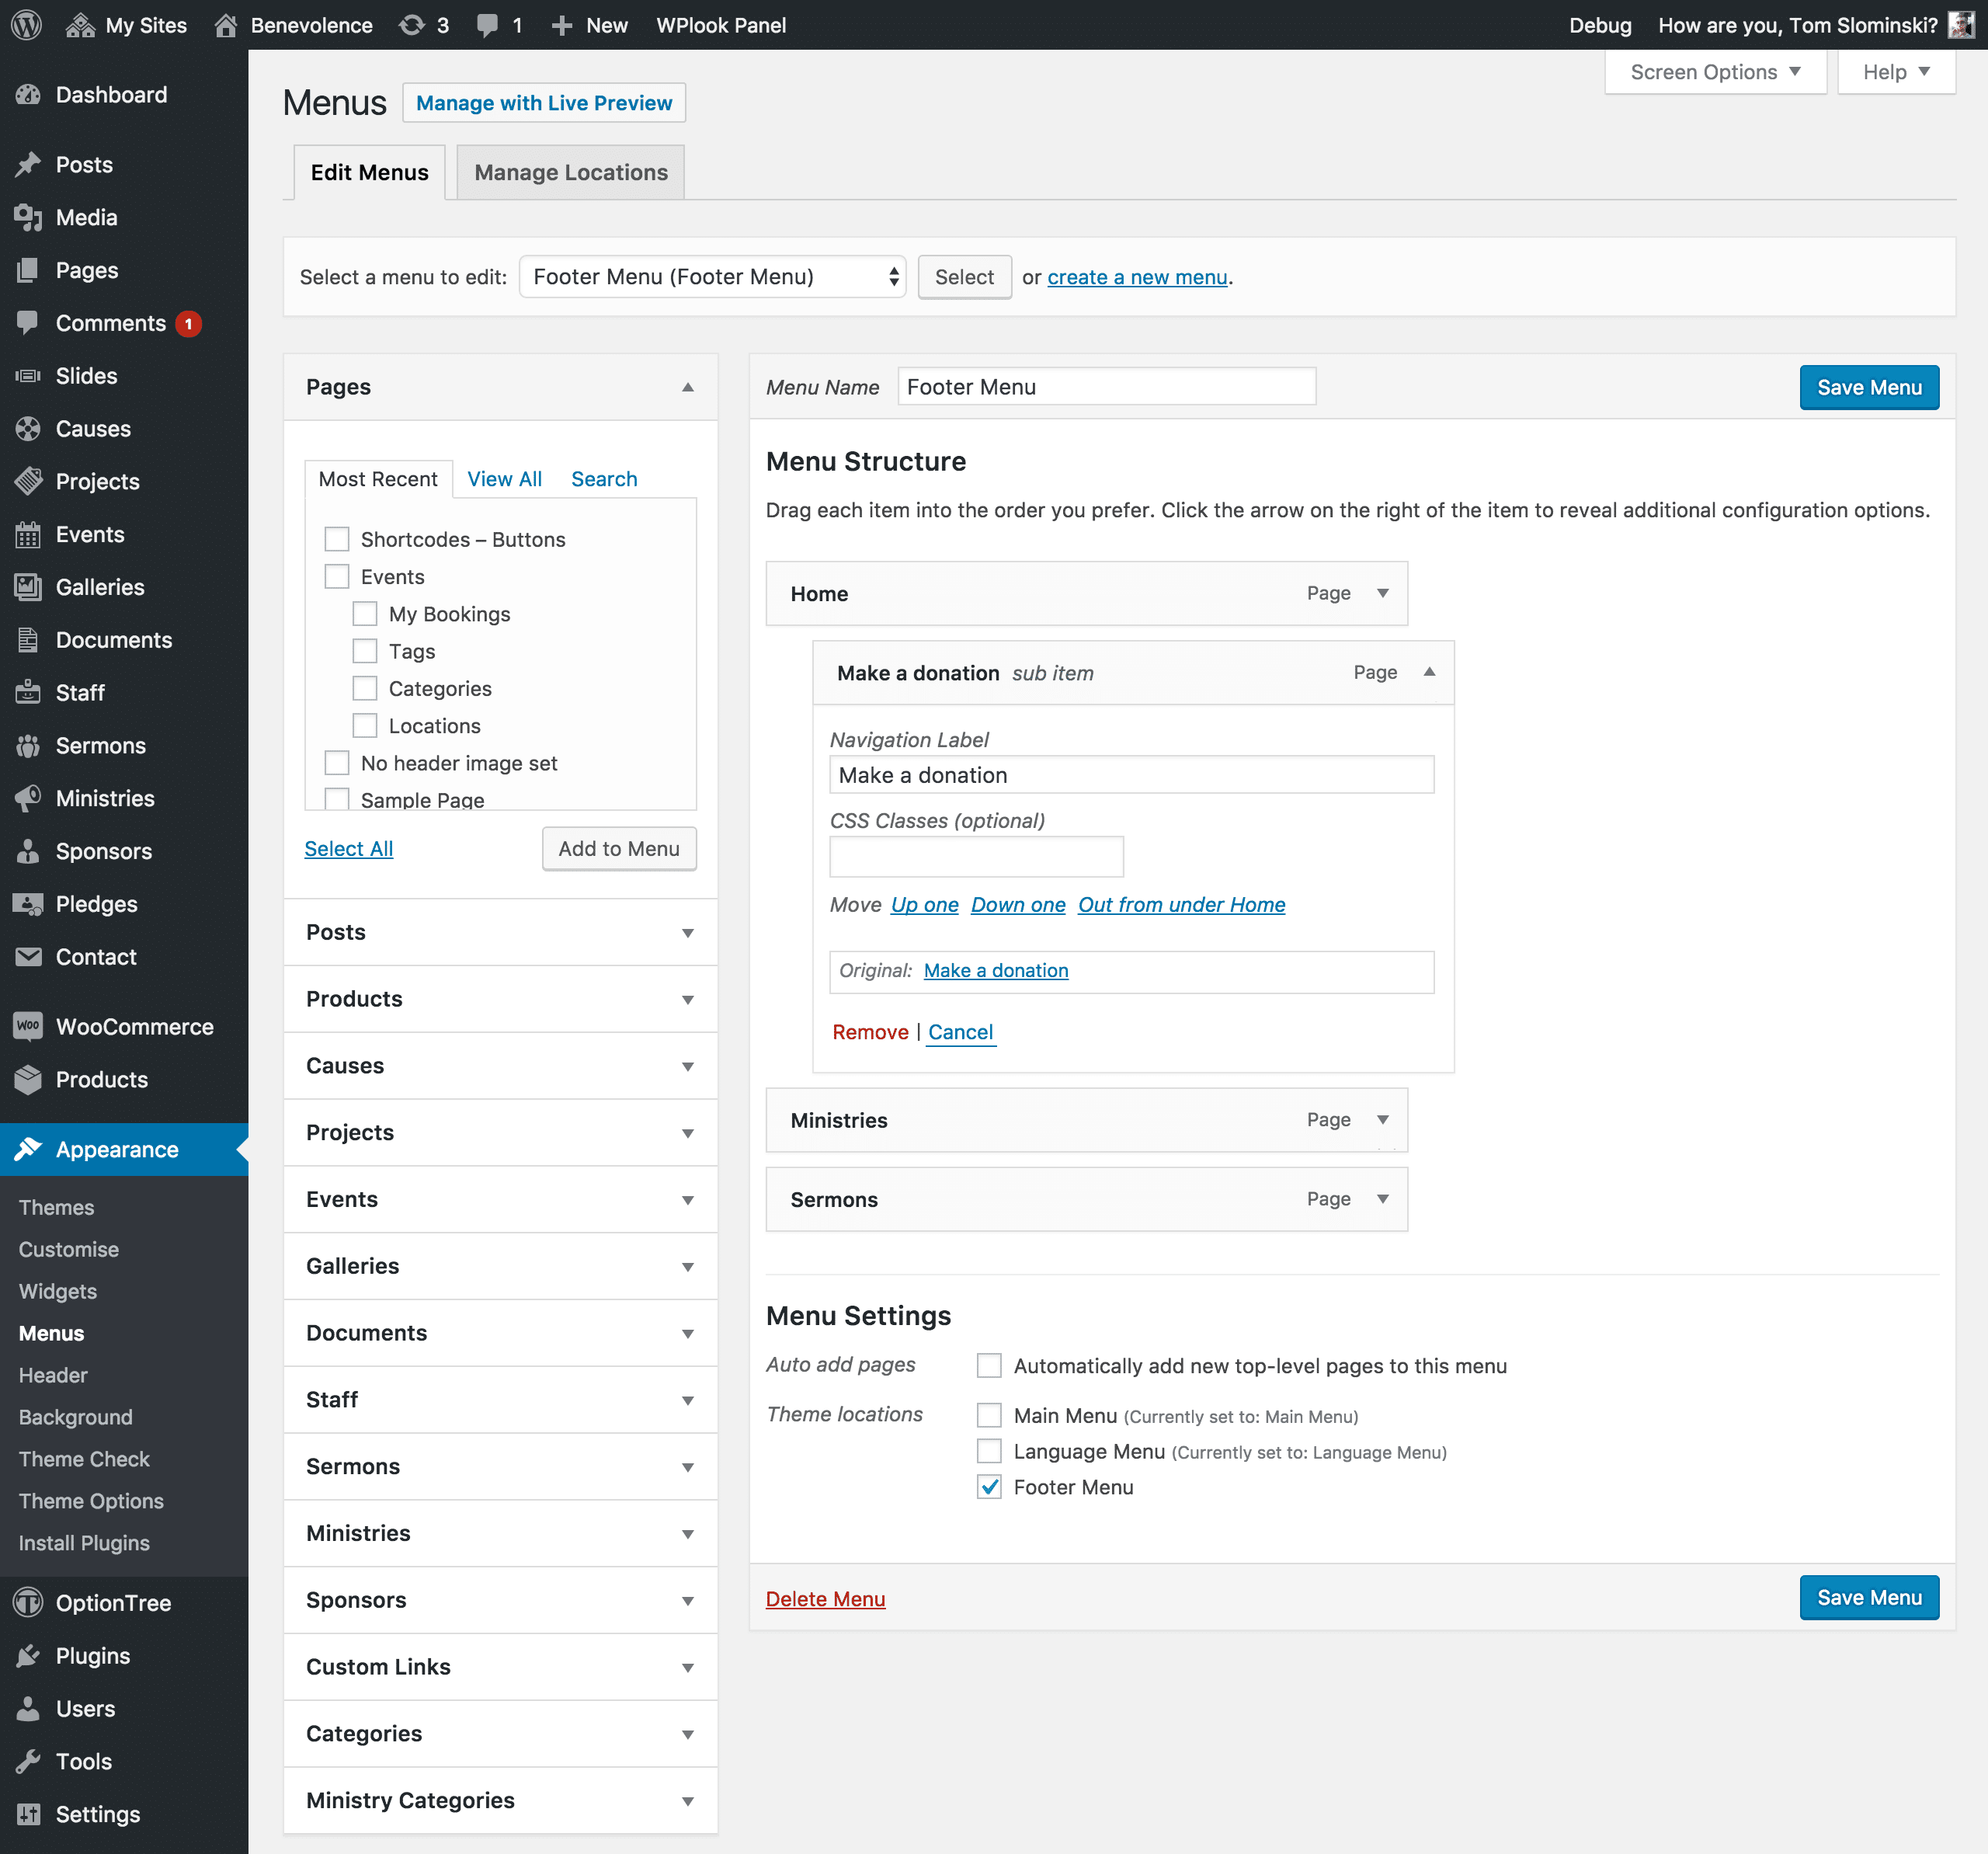
Once you’ve created a new menu, you’ll be automatically taken to the editing page. If you want to edit a new menu, select it from the dropdown next to select a menu to edit.
Adding Links
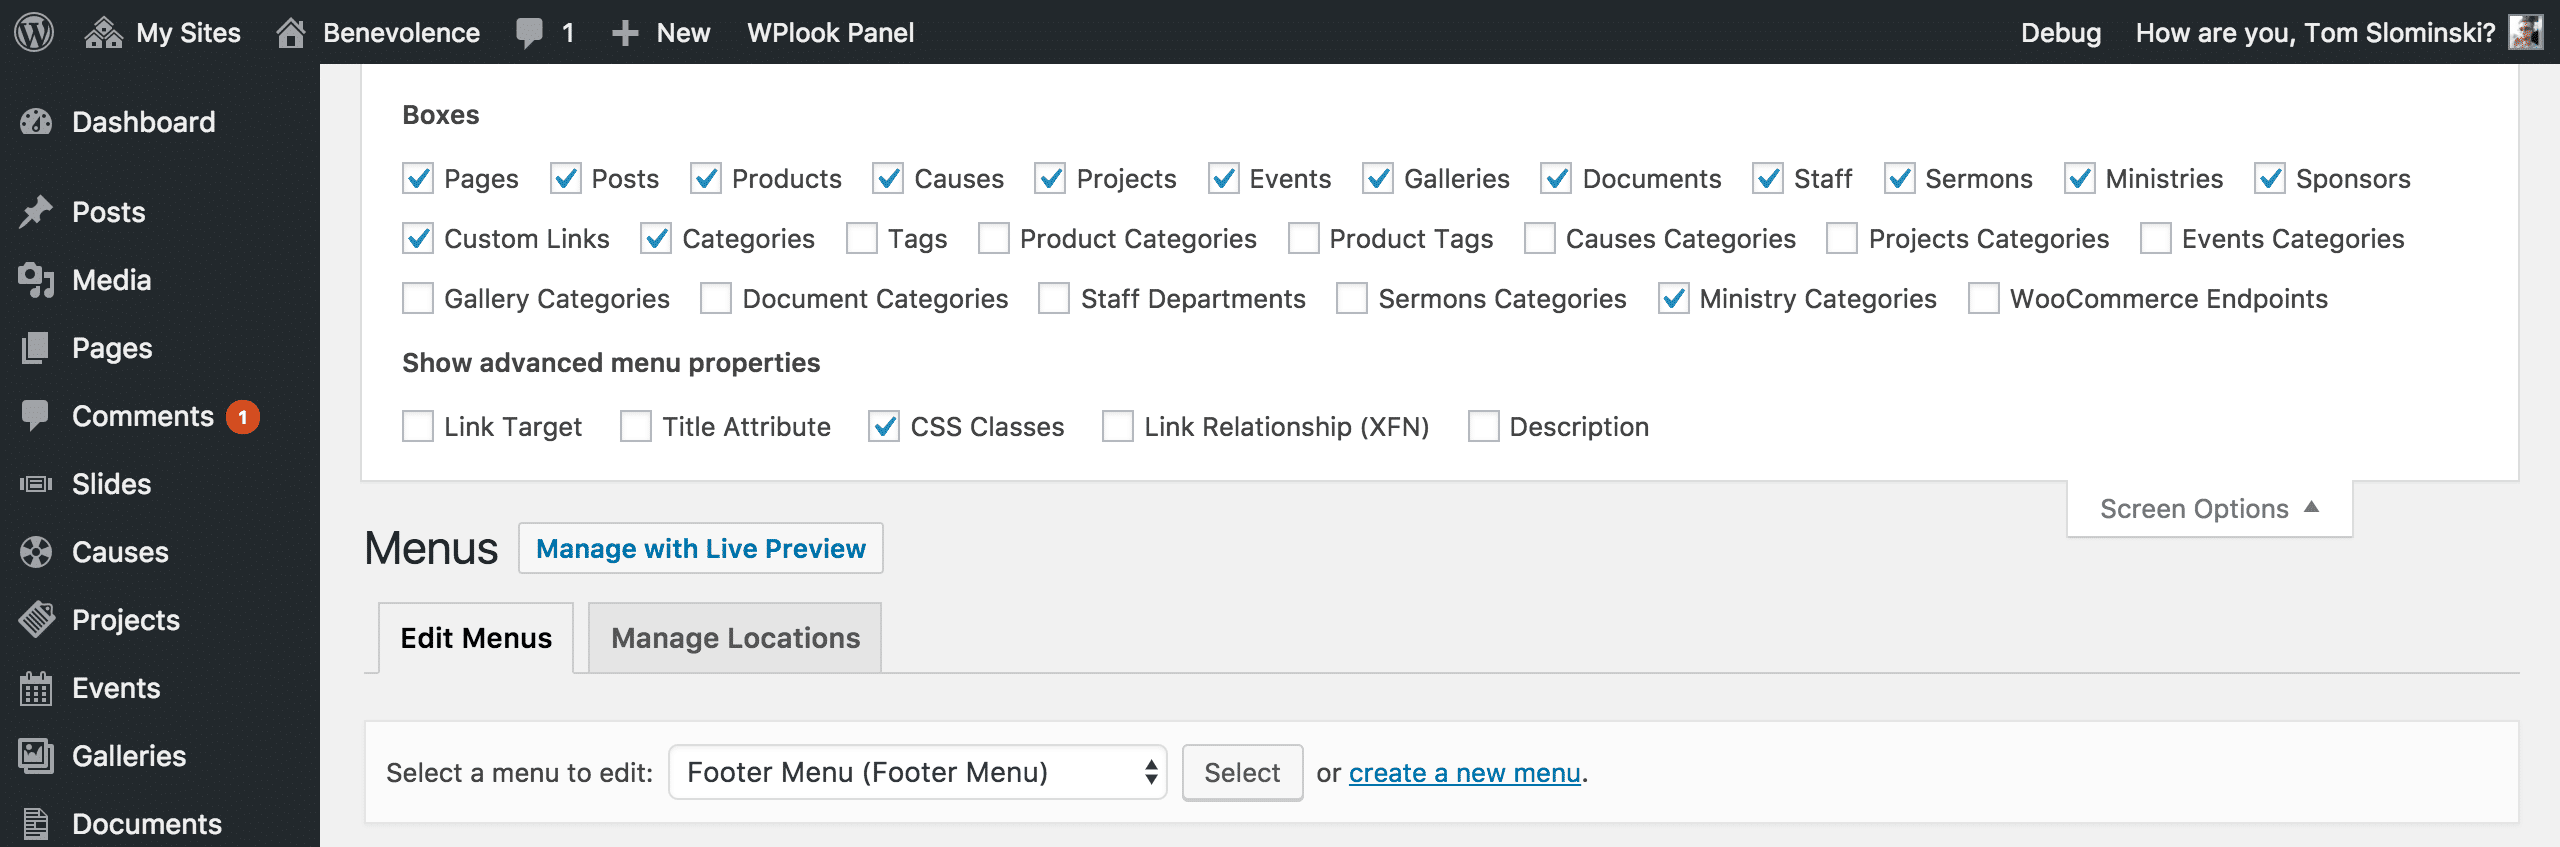
The left sidebar lists available links which can be added to your menu. This includes posts, pages, custom post types, categories and custom links.
To add a link, select it from the sidebar and click Add to Menu. You can select multiple links at a time and they’ll all be added into the menu for later sorting.
You can search and sort links using the Most Recent, View All and Search tabs at the top of each section.
The exception to this is the Custom Links section, where you have to add a URL and Link text before adding the item to the menu.
If you can’t see all available custom post types, make sure they are selected in the Screen Options dropdown area at the top of the screen.
Sorting the Menu
The menu is sorted using the drag and drop method. Drag links one below the other to sort their order in the menu.
You can also put items into submenus by dragging an item slightly to the right, under another item, creating a visual hierarchy.
Editing Items
You can edit how individual items appear in the menu by clicking the downward arrow next to the item name. Here, you can edit the Navigation Label to change the name of the menu item. You can also add space-seperated CSS Classes, to apply styling specific to this menu item.
You can also use the links in the Move section to change the hierarchy of this menu item without dragging it.
Menu Settings
Enable Auto add pages to make new pages (excluding child pages) appear in this menu automatically. This is useful if this menu is a central navigation point for all your pages, and it means you won’t have to edit the menu every time you add a new page to your site.
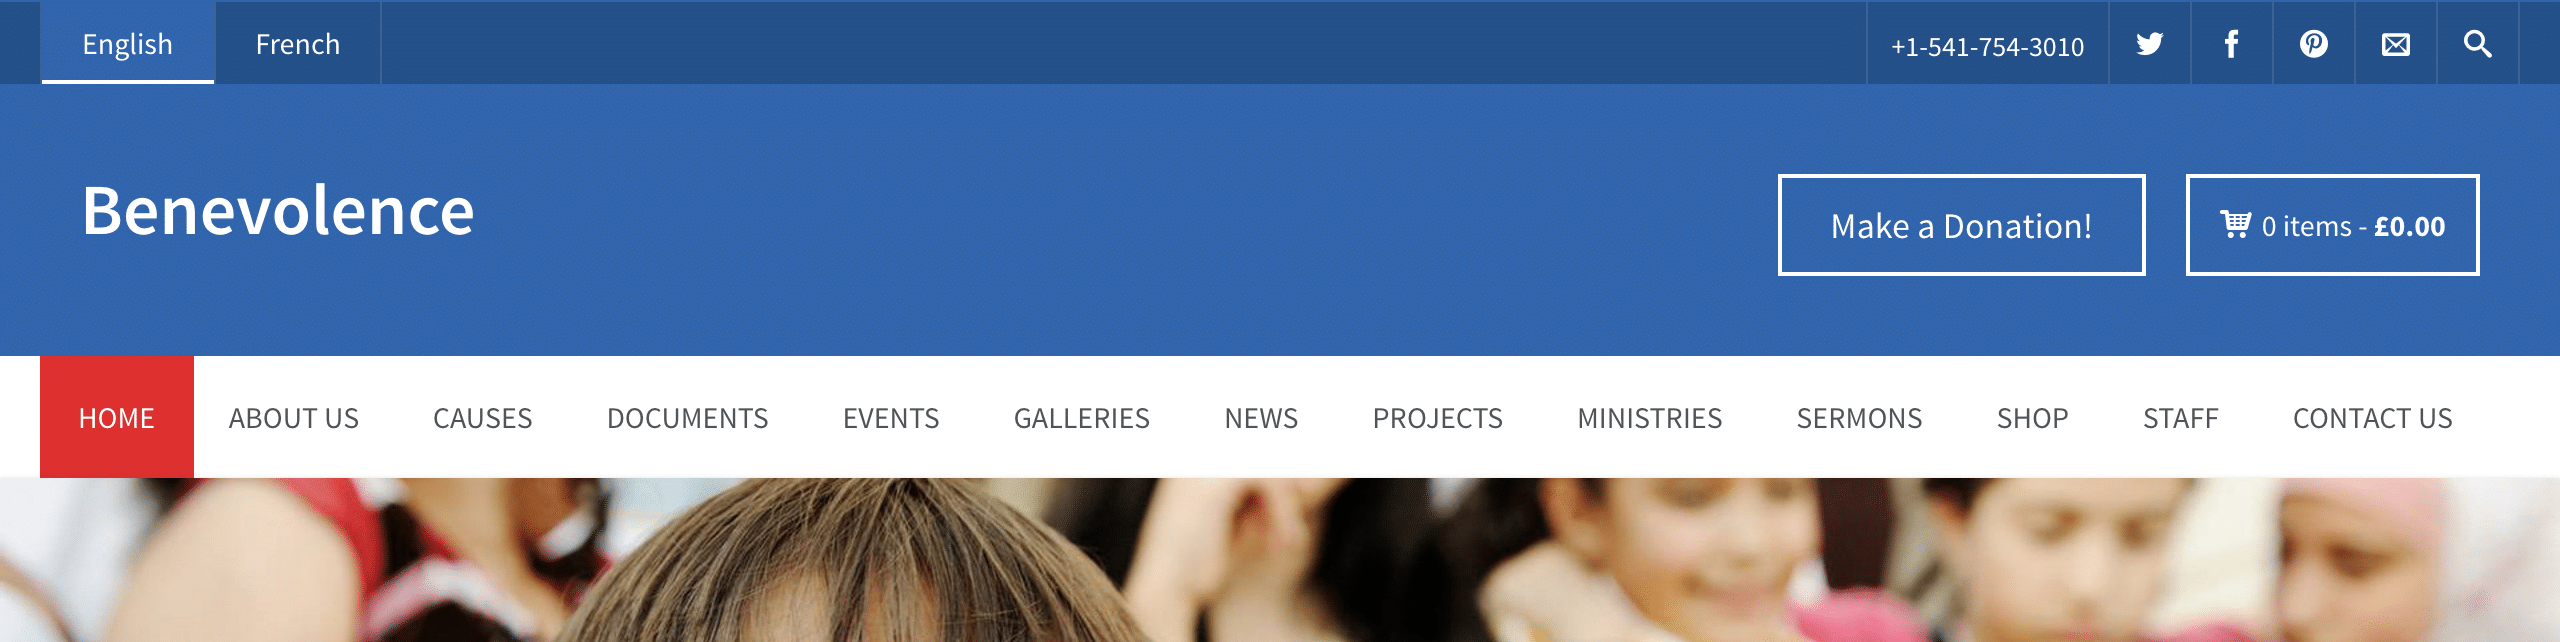
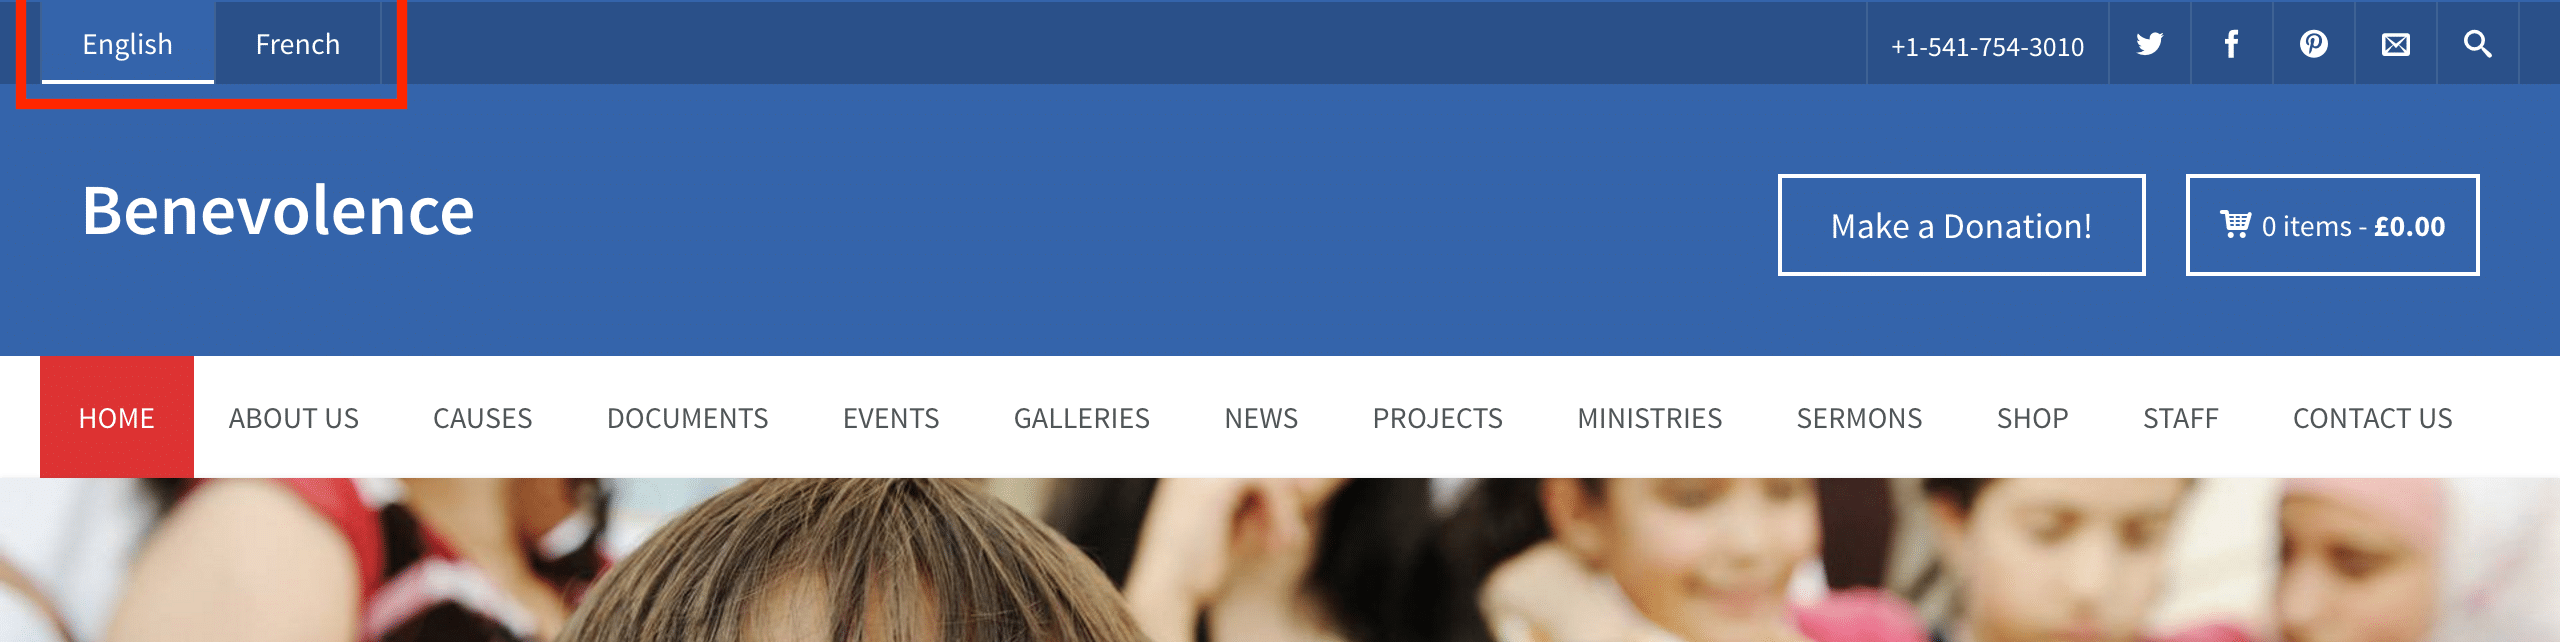
You can also select Theme locations for this menu. Select one location, or multiple. The locations in this theme are explained in more detail below.
Theme Locations
Benevolence comes with three theme locations for menus. These include the following:
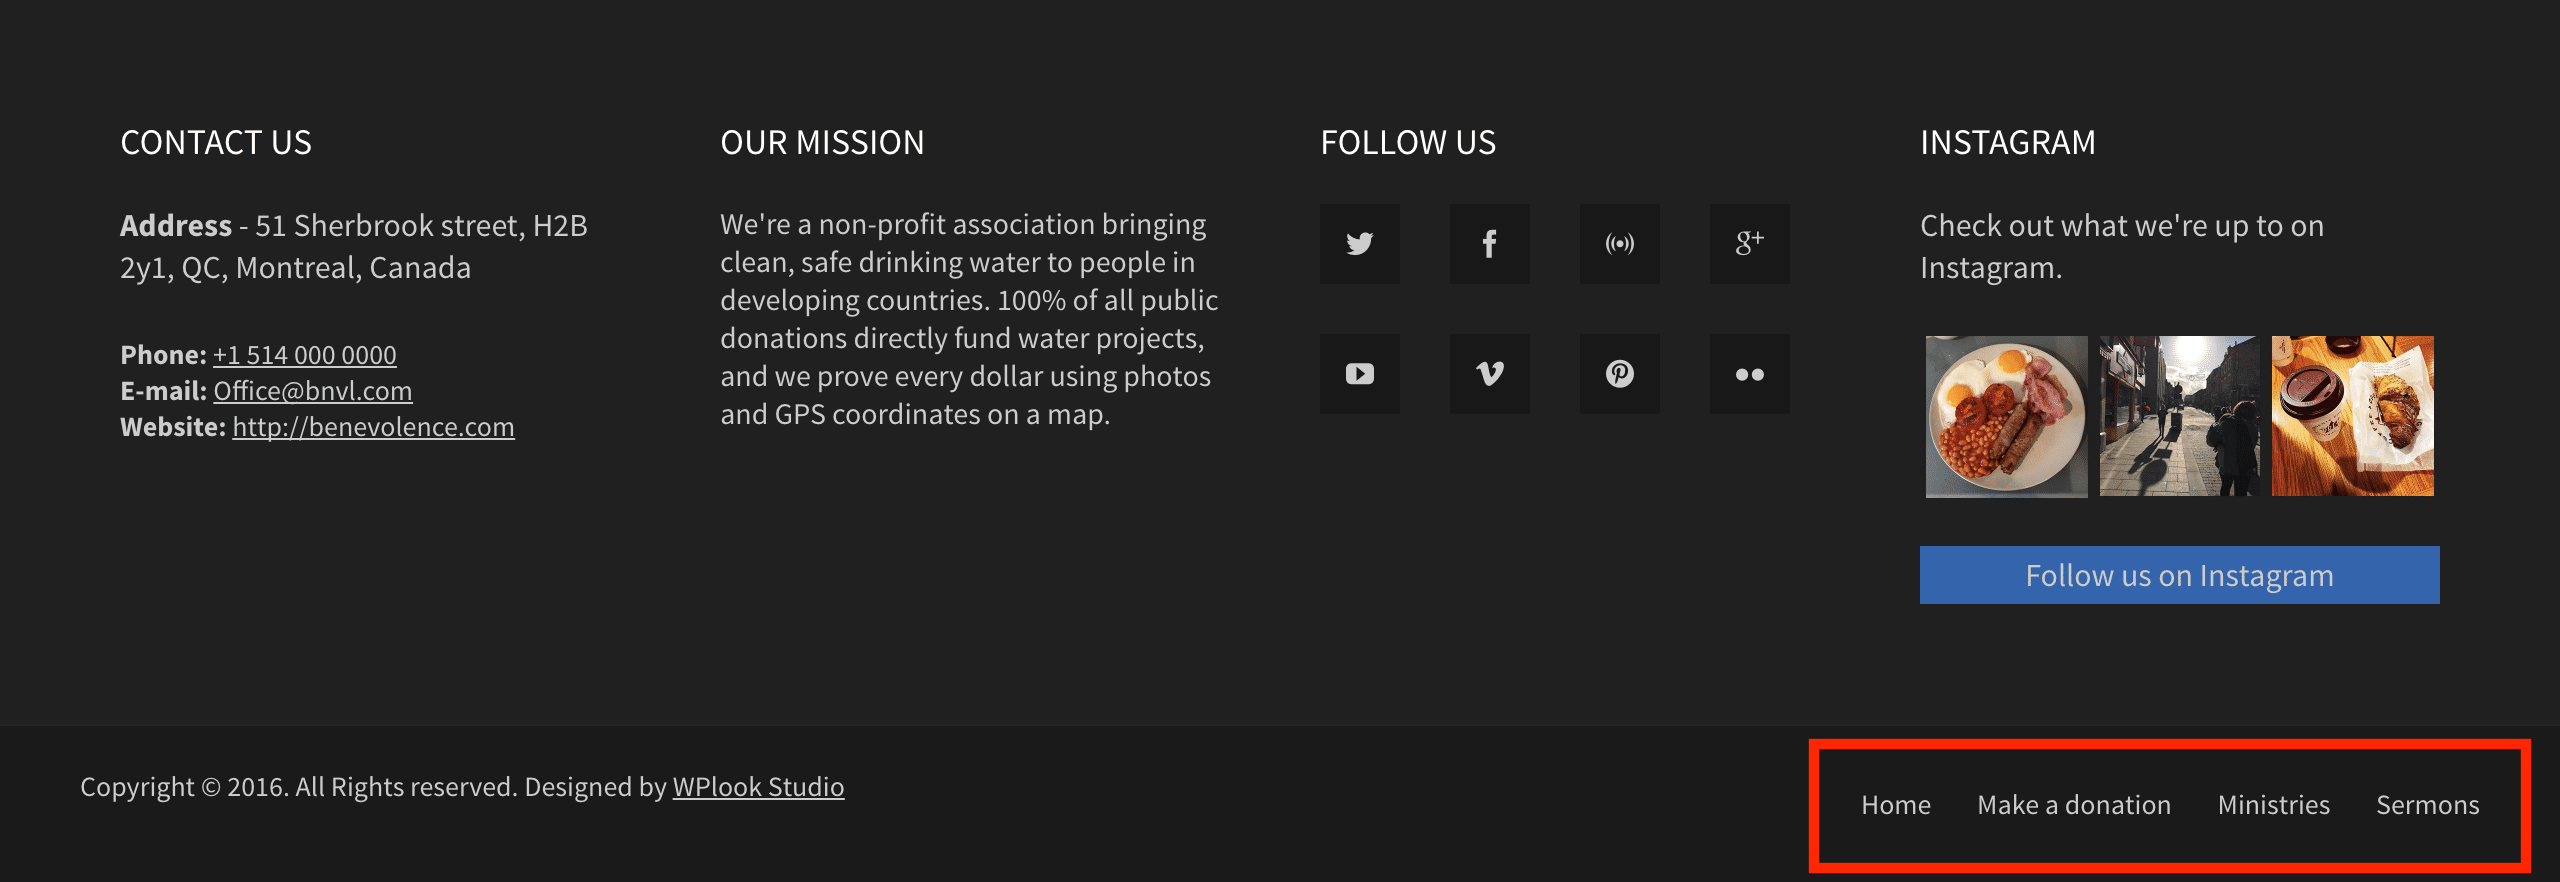
Menu Widget
The Custom Menu widget can be used to display menus defined here on any part of your site with a widget area. For example, you might want to display post type specific menus by utilising the widget areas specific to each post type. Find out more about adding widgets in the Managing Widgets article.
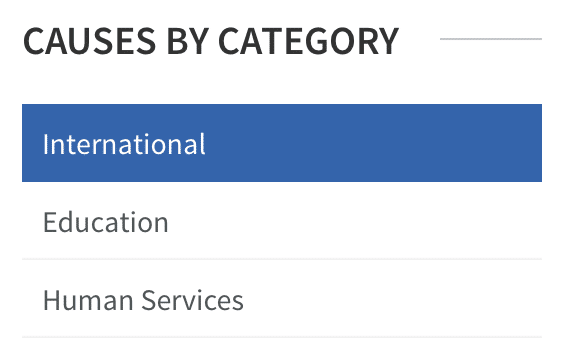
Submenu on child page
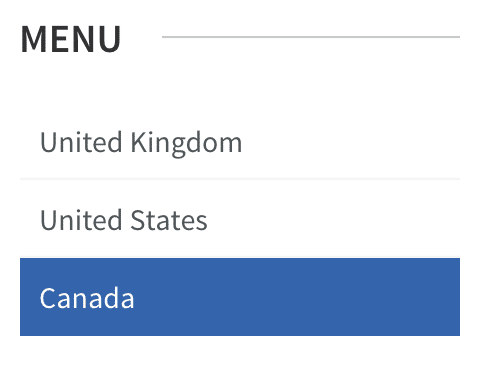
Since pages in WordPress do not have tags or categories, parent and child pages can be used to establish a hierarchy. For example, you might set up a parent page called Churches, with child pages like United Kingdom and Canada. This is similar to putting posts called United Kingdom and Canada in the Churches category.
Pages can be made child pages from the Page Attributes box on the Edit Page or Add New Page screens, usually found below the Publish box. To do this, select the page which will act as a parent page to the page you are currently editing from the dropdown in the Parent section. Indented items directly below a page name show pages which are already children of that page.

Child pages will automatically receive a new URL, derived from the URL of the parent page. For example, if the URL for the Churches page is benevolence.com/churches, a URL for the Canada child page might be benevolence.com/churches/canada.
The theme also contains an option to display a menu on all child pages with links to their siblings, which can be enabled in General Settings. Once enabled, the menu appears in the sidebar.