- The first step of the Setup Wizard displays information about the plugin. Click Let’s Go to continue.
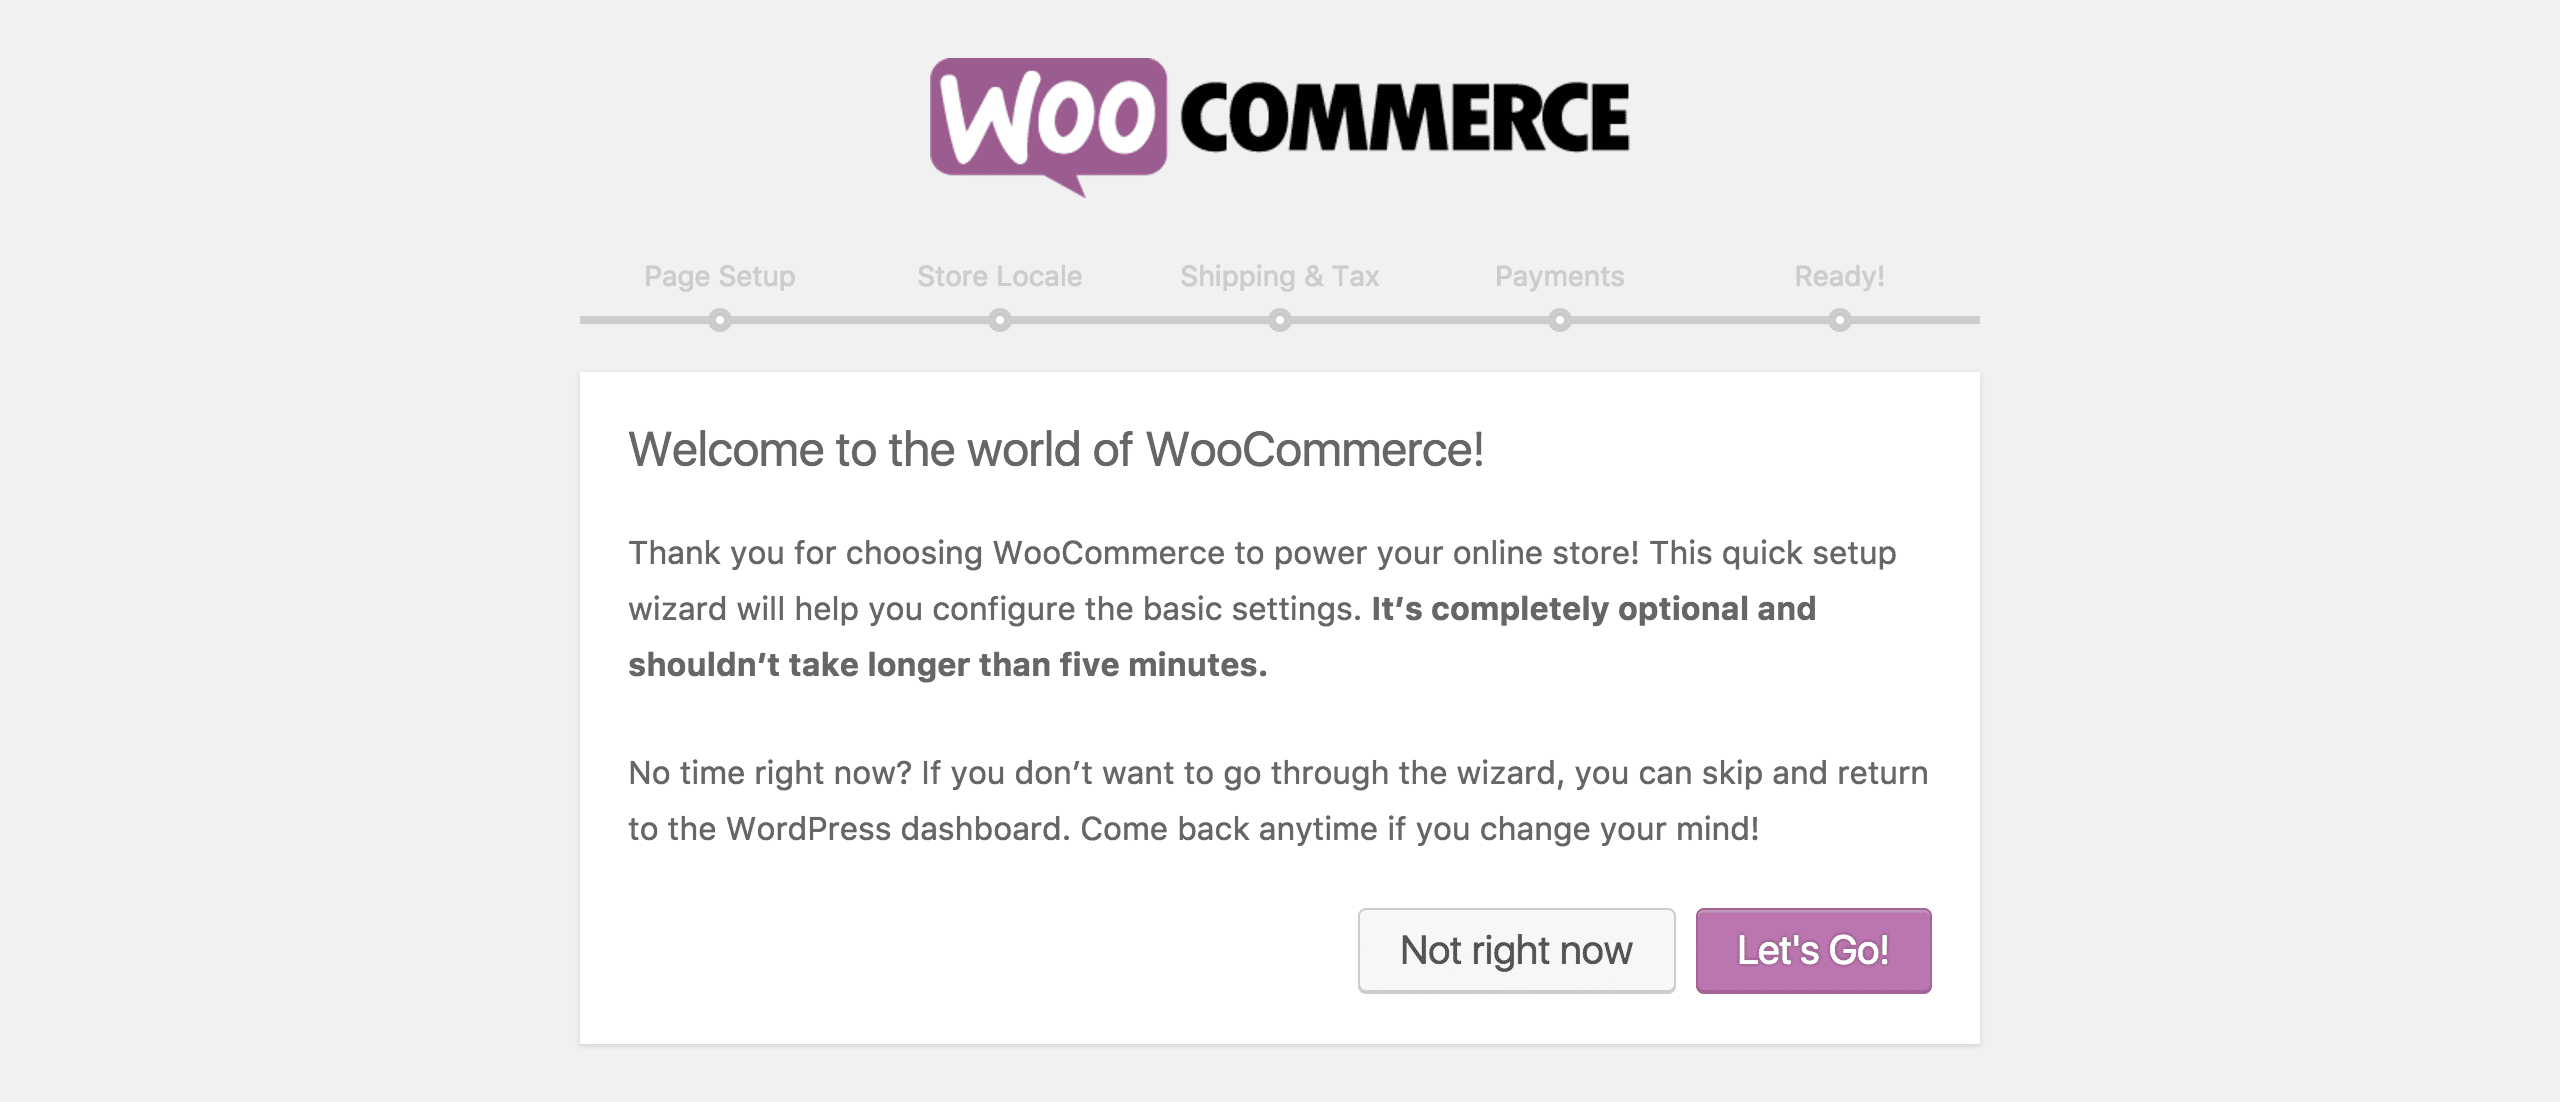
The first step of the WooCommerce Setup Wizard.
- The next step creates the four pages required for WooCommerce to function – Shop, Basket, Checkout, and My Account. If pages with these titles already exist, they will be used. These pages can later be changed in WooCommerce settings. Click Continue to create the pages.
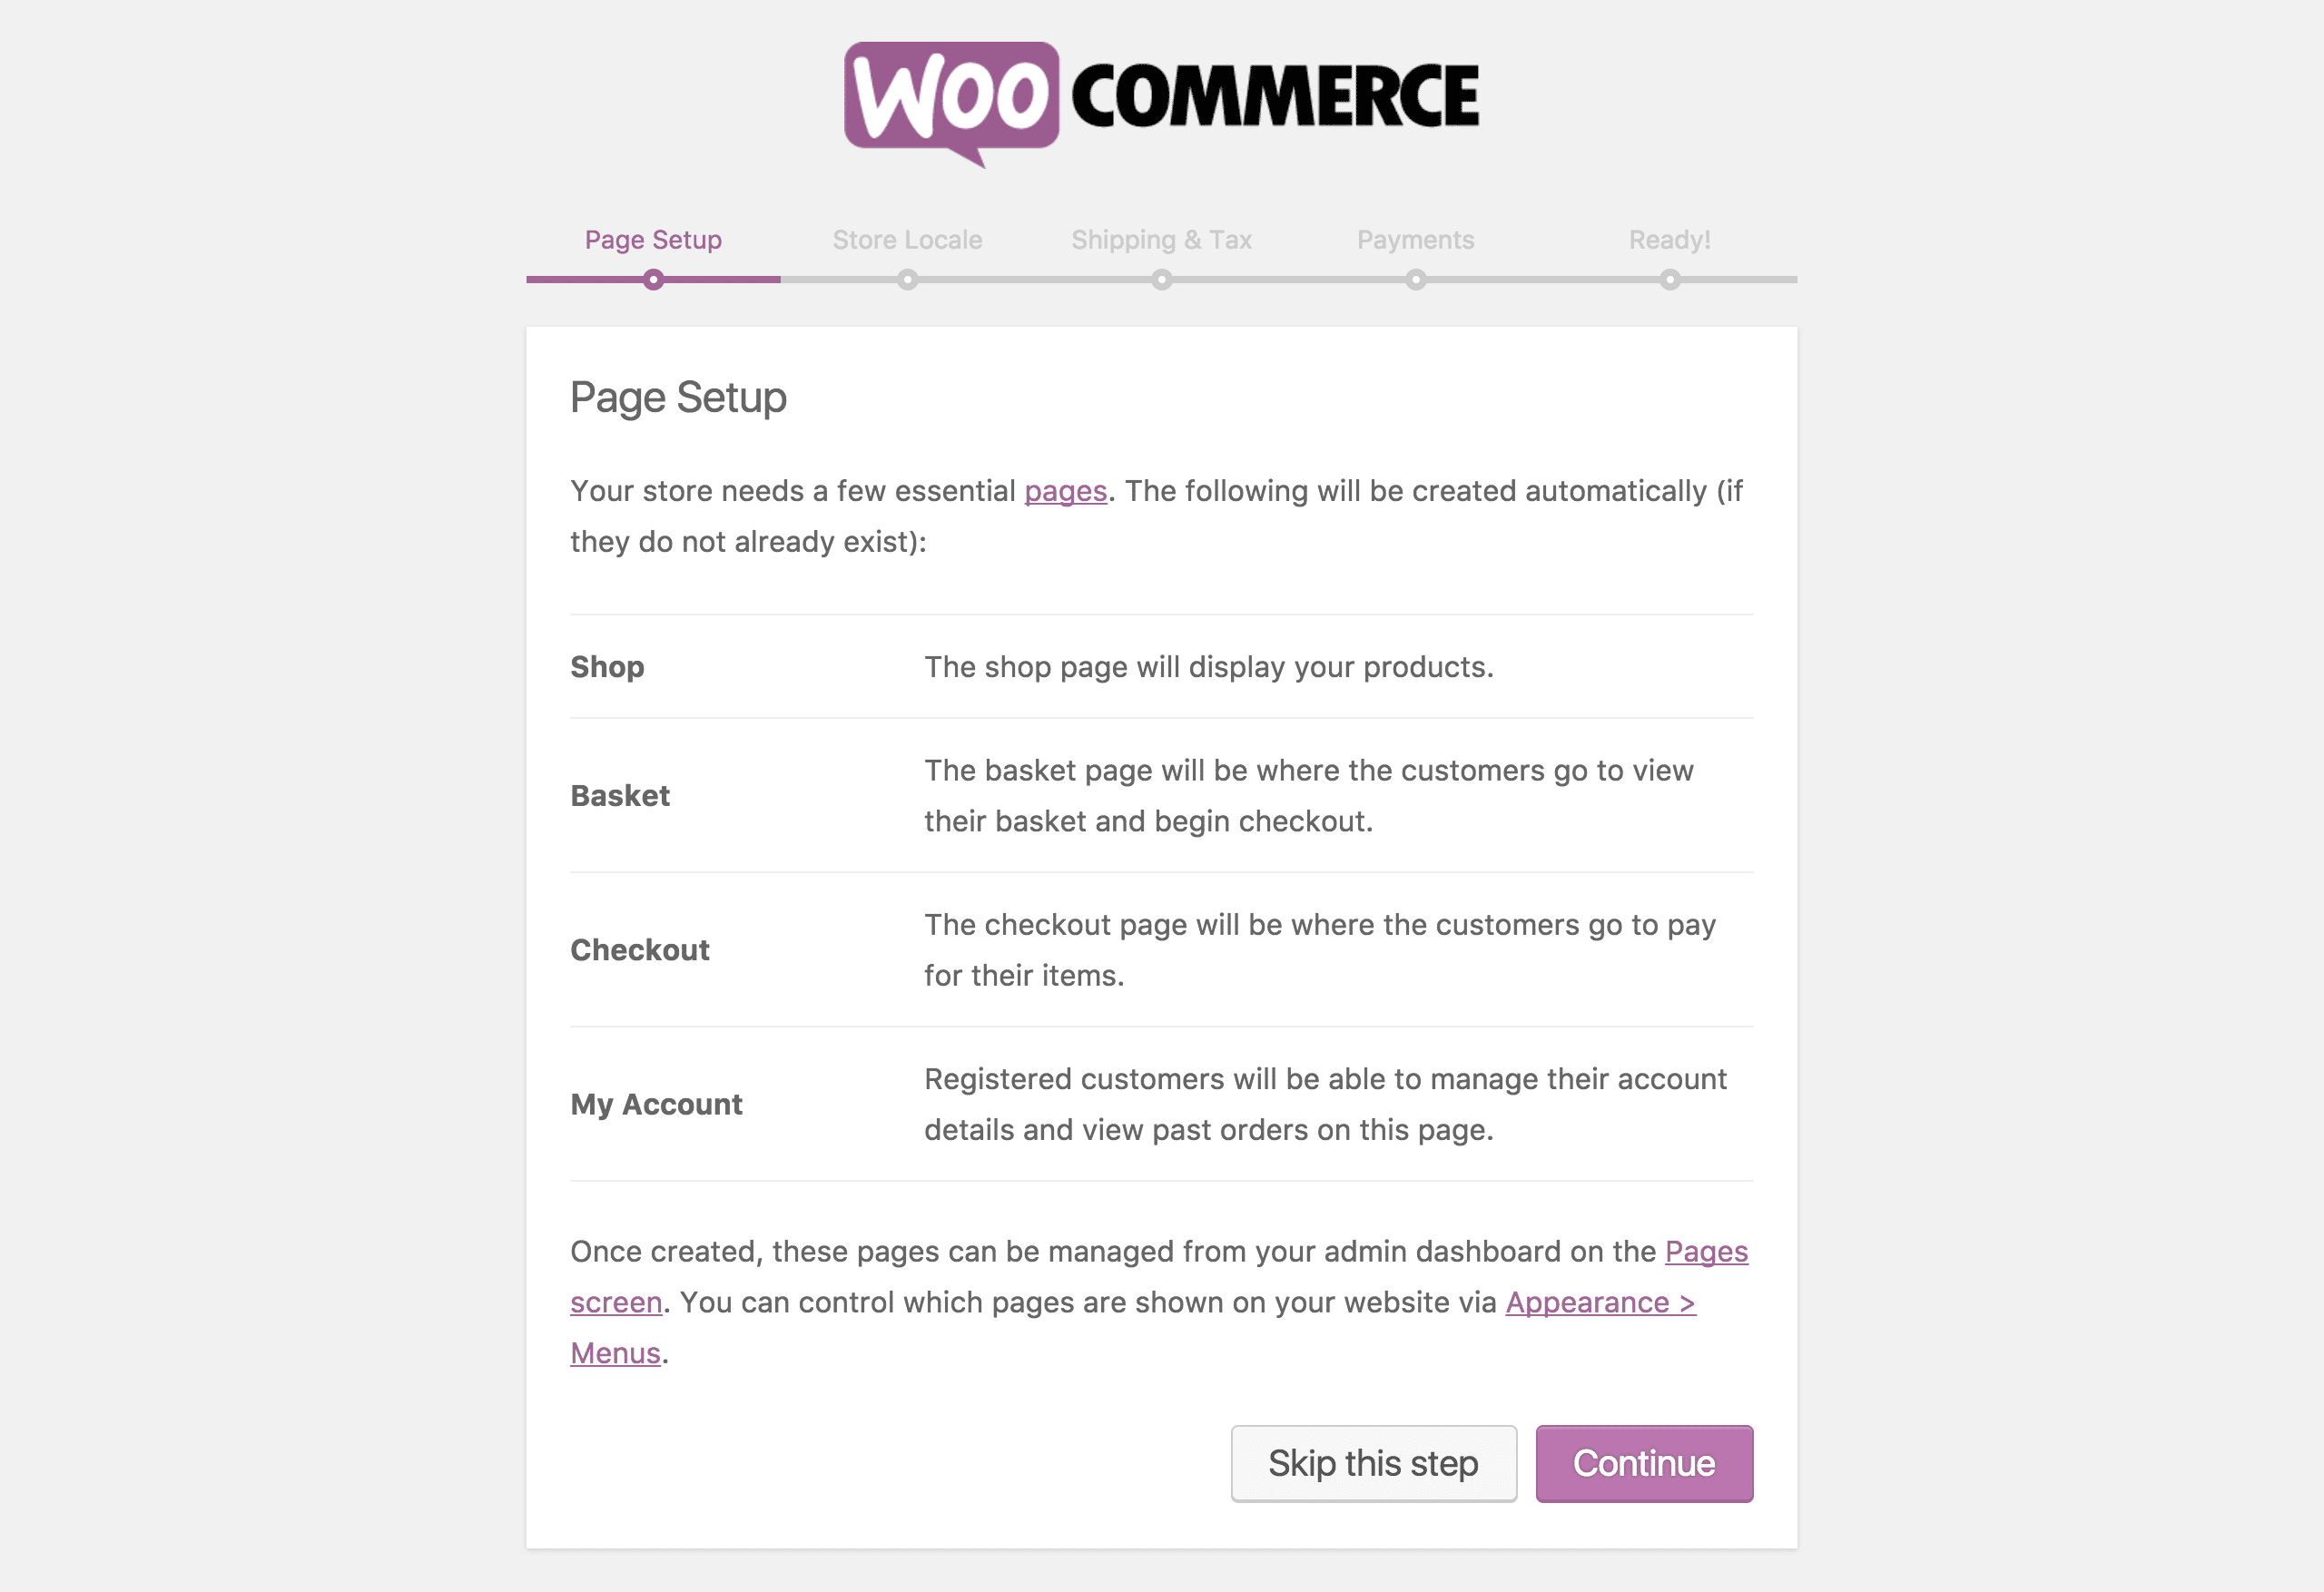
Second step of the WooCommerce Setup Wizard, Page Setup.
- The following step sets the language and region information for your store. Click on each of the dropdown boxes, select information most relevant for the country in which your store runs and click Continue.
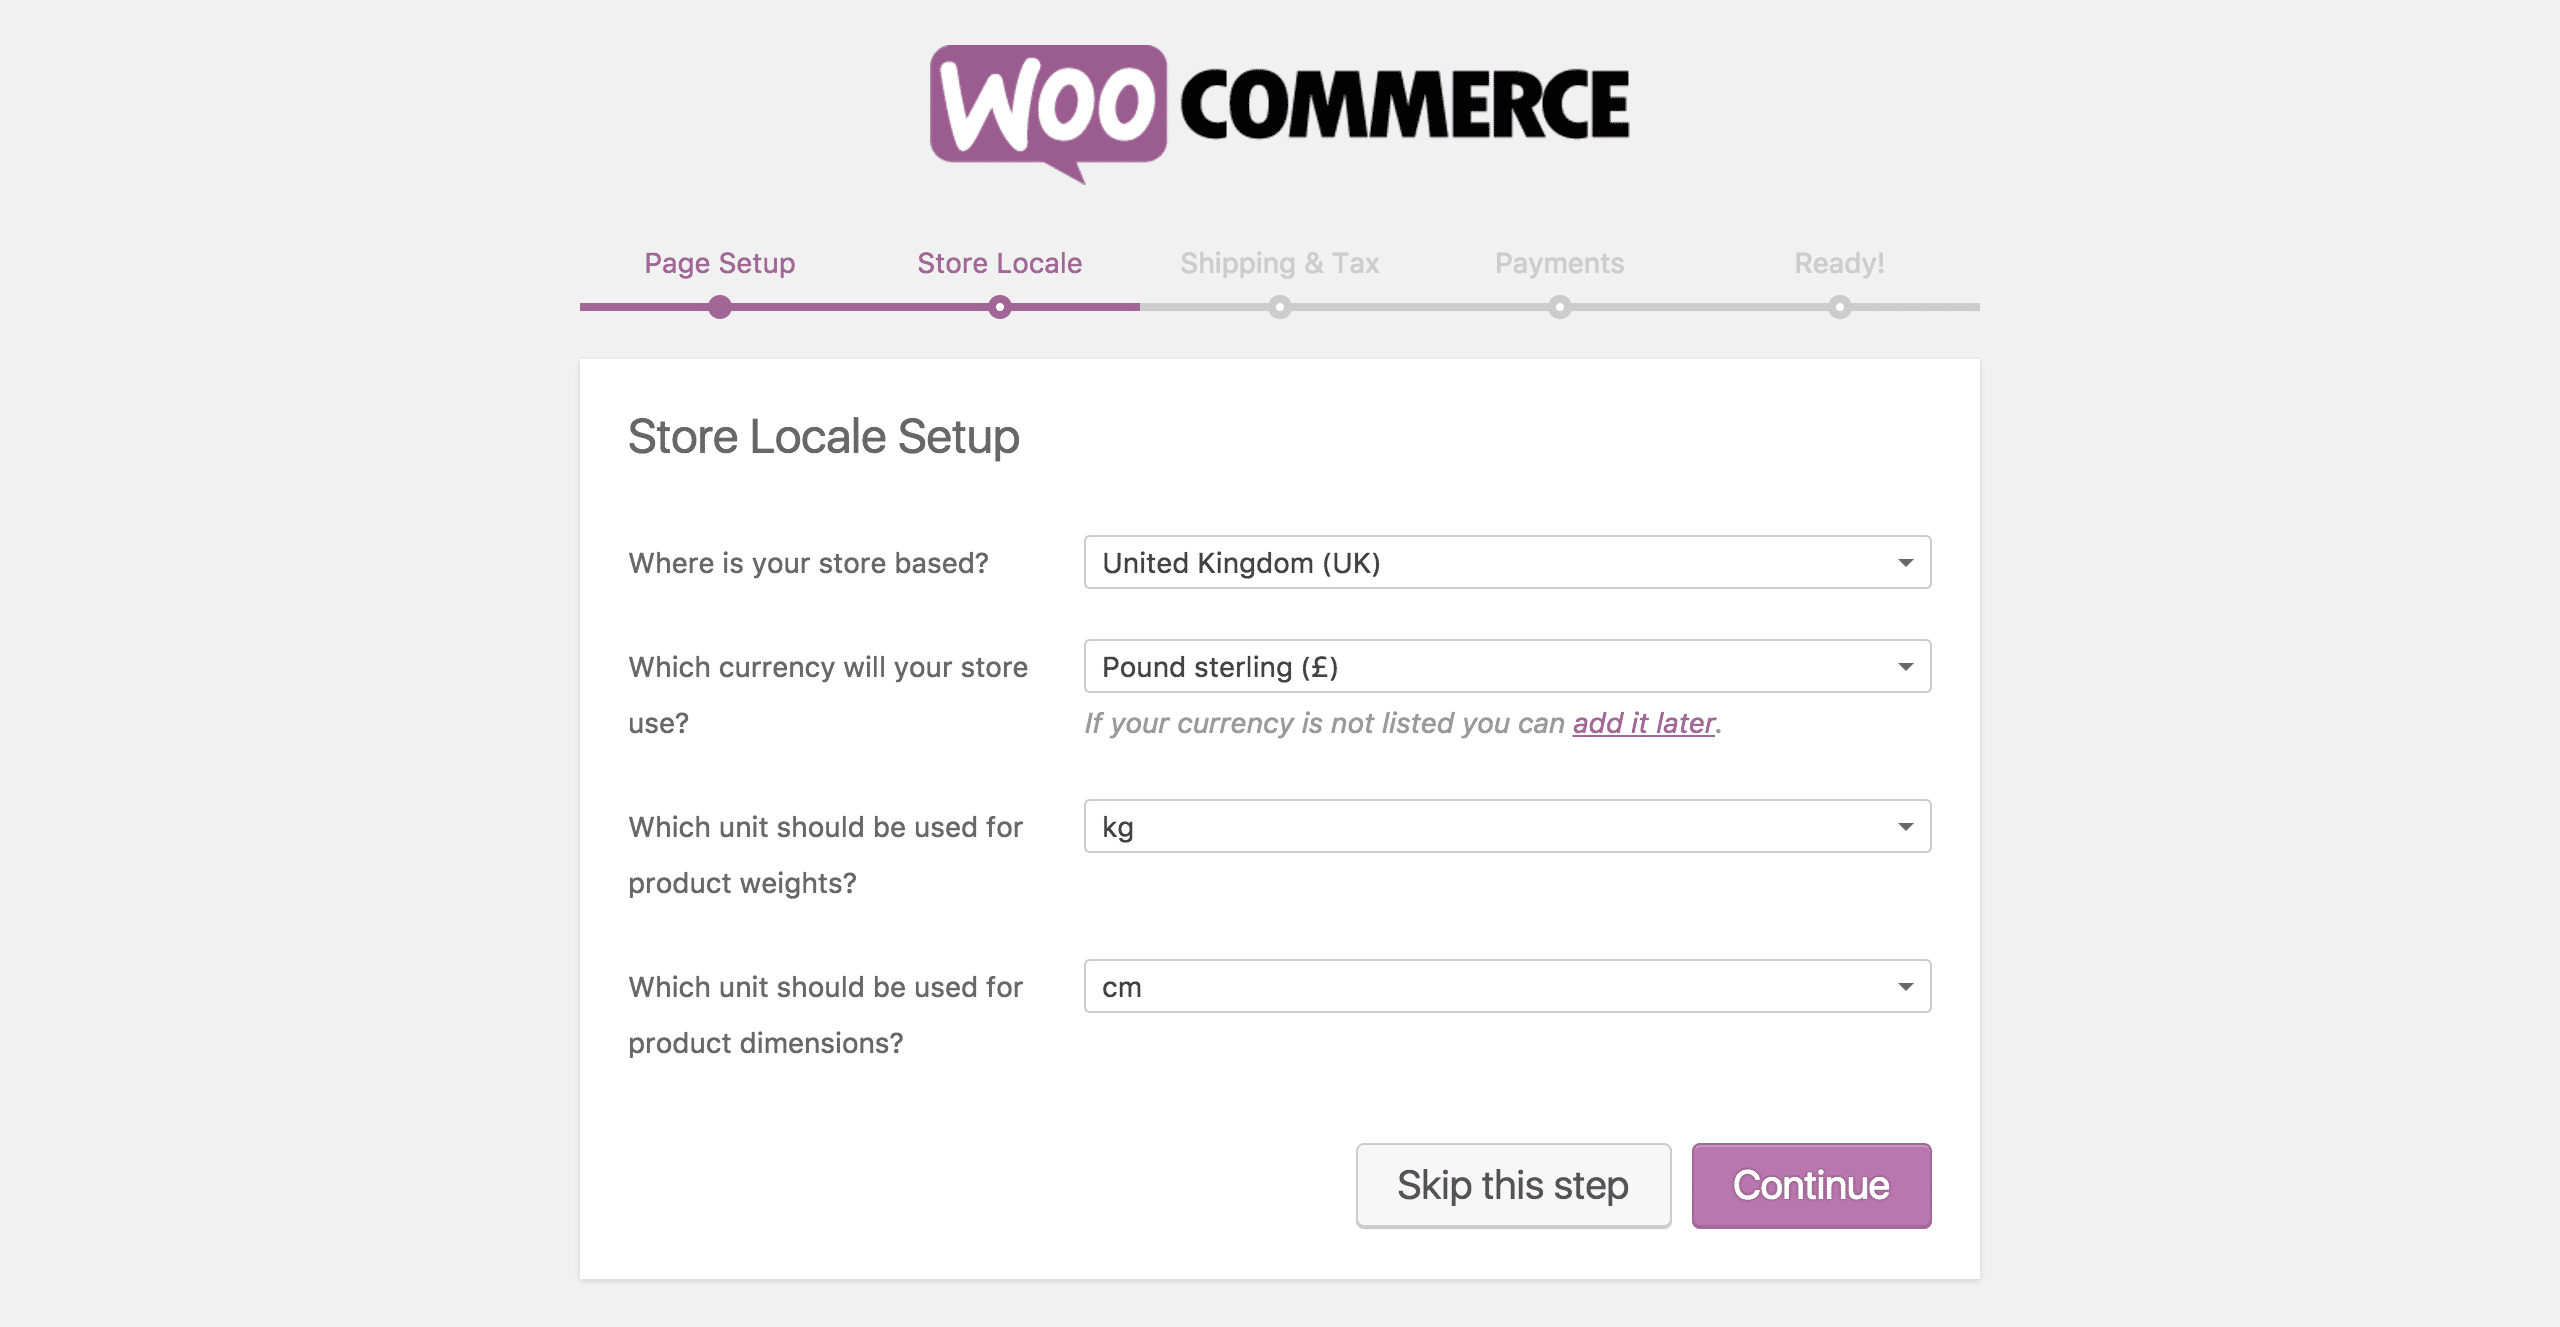
The third step of the WooCommerce Setup Wizard, Store Locale.
- The next step sets up shipping and taxes. Enter the information relevant for your organisation and click Continue.

The fourth step of the WooCommerce Setup Wizard, Shipping & Tax.
- The penultimate step of the Setup Wizard sets up the accepted payment methods on the site. By default, it offers the following options, but they may vary by country. Select the methods to enable and click Continue.
- PayPal Standard: A simple PayPal implementation which forwards your buyers to the PayPal site to pay. Doesn’t require you to comply with any payment security laws as everything is handled by PayPal. Automatically sends buyer data to PayPal and marks orders as paid.
- Stripe: An additional, free plugin which adds Stripe support to your site. Stripe accepts many types of cards, including Visa, Mastercard, American Express, and even Bitcoin. Requires a Stripe account. Find out more about Stripe.
- PayPal Express: An additional, free plugin which adds PayPal support to your site. Requires a PayPal Business account, an SSL certificate, connecting to an external service (Braintree, a subsidiary of PayPal), and only works in the United States. However, it allows you to accept payments directly on your site without redirection to PayPal. Find out more about PayPal Express.
- Check Payments: An offline payment method where the buyer is asked to post a cheque to your address. Once the cheque has cleared, you can mark the order as being processed and ship out the item.
- Bank Transfer (BACS) Payments: An offline payment method where the buyer is asked to transfer money into your bank account. Once you have received the payment, you can mark the order as being processed and ship out the item.
- Cash on Delivery: An offline payment method where you simply post out the item with a carrier supporting cash on delivery.
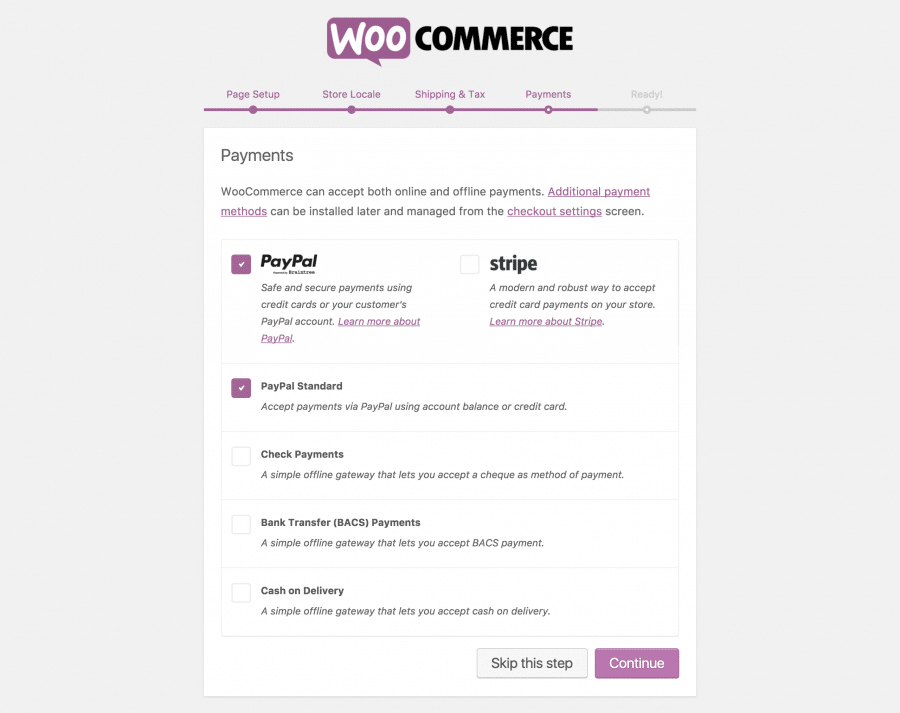
The penultimate step of the Setup Wizard, offering a selection of payment methods.
- The last step signifies that you’ve successfully setup your store! Select any of the options on the page to create a new product, learn more about WooCommerce or Return to the WordPress Dashboard.

Congratulations, you’ve set up your WooCommerce store!
Setting Up WooCommerce
To function, WooCommerce requires the creation of a few pages, as well as other information required to run a store. This is done using the Setup Wizard, run automatically when the plugin is activated. If the Setup Wizard is not activated, or you’ve activated it previously and skipped it, look in the Reactivating the Setup Wizard section for information on how to launch it again.

WPlook Themes