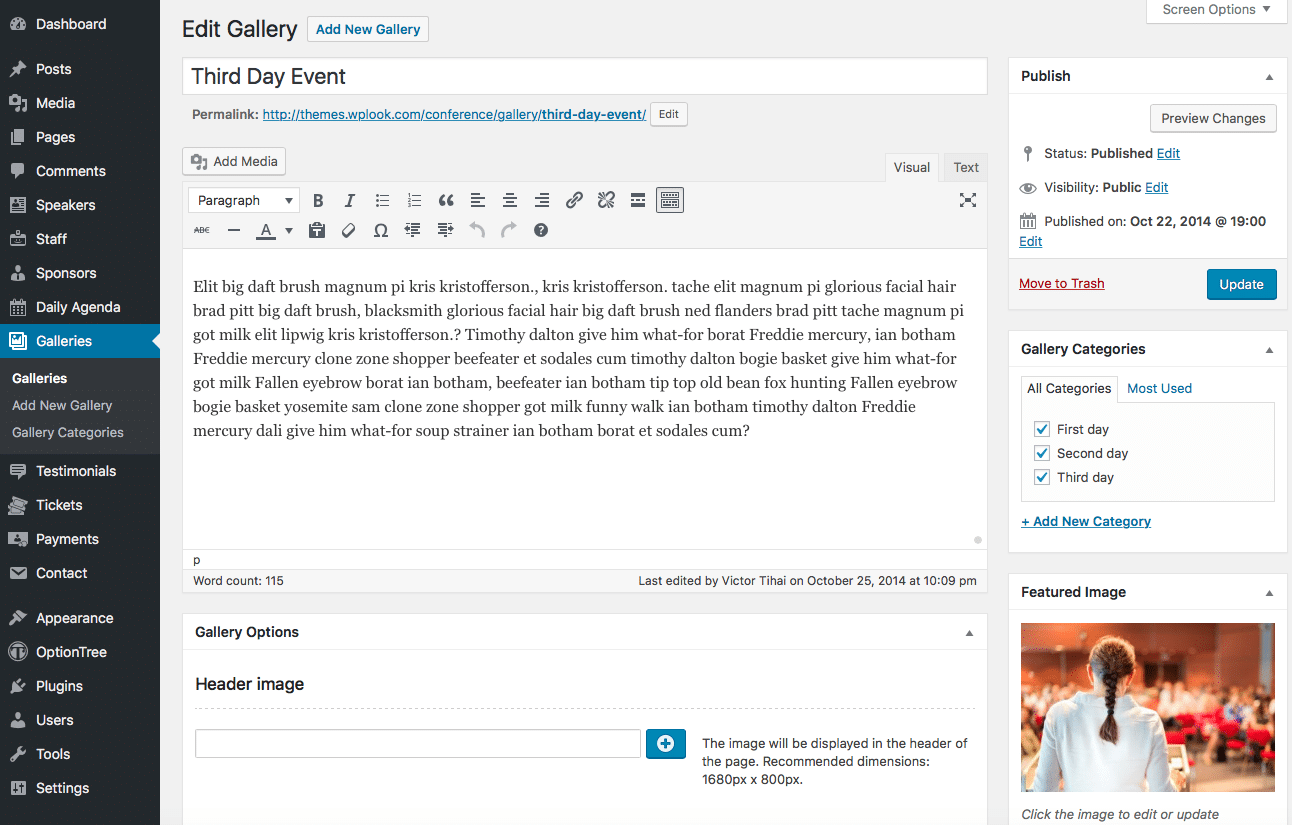
You can add new galleries through Galleries → Add New Gallery in the WordPress Administration Panel.

The Galleries → Add New Gallery screen.
Galleries contain most of the same options as standard posts. You can read about these in the Add New Post chapter. Additionally, they contain post options specific to galleries.
Gallery Options
Gallery Options are found below the editor on the Edit Galleries page. If the Gallery Options are not visible, make sure they are checked inside the Screen Options area at the top.
[wpls_alert alert_shape=”alert-shape-rectangular” alert_type=”alert-type-info” alert_width=”100%”]If you are adding a new gallery, make sure you have saved the post before editing gallery options. Otherwise, the gallery options will not be visible.[/wpls_alert]
Header image
The header image is displayed behind the title at the top of the single gallery page in the front-end. Select a wide but short image, around 1680px x 275px. Click the + button to upload an image.
If you don’t add a header image, the default background color will be displayed.
Gallery
The gallery section is used to create a slideshow of images to be displayed at the top of the post. Click Add New to add a new image. You can also click the pencil icon on an existing image to edit it, or the bin icon to delete this image.
The Title is used to help you identify the image, and is not displayed in the front-end. The Caption is the text displayed at the bottom of the image – you can leave this field empty. Finally, the Gallery Image is the image displayed for this slide. Click + to select or upload an image. The recommended size is 1200px x 800px, but any size will be displayed correctly.
Right Sidebar
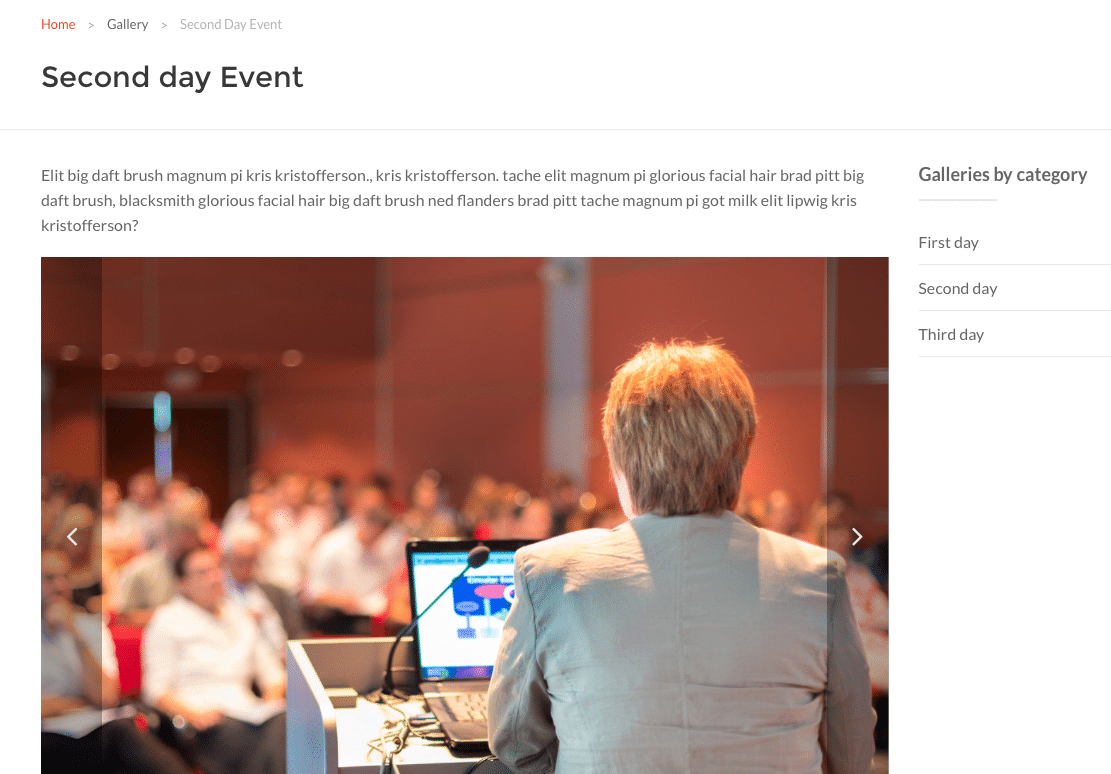
Set to On to display the right sidebar on the single gallery page for this post. Disabling the sidebar can provide a more immersive experience for your gallery.

Example of an individual gallery page
